Navigation auf uzh.ch
Navigation auf uzh.ch

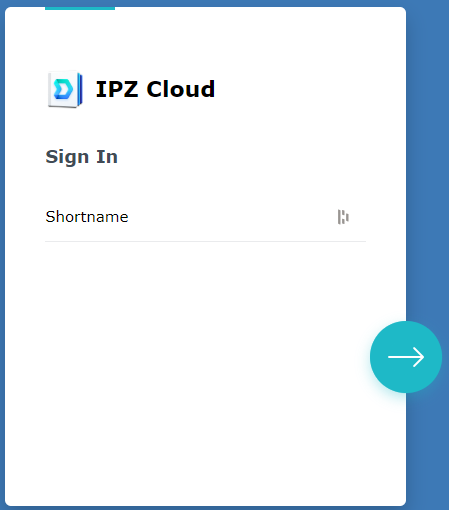
1. Open the following site in your web browser:
https://pwicloud.uzh.ch/drive/
2. Login with AD-Service(Shortname + Passwort)
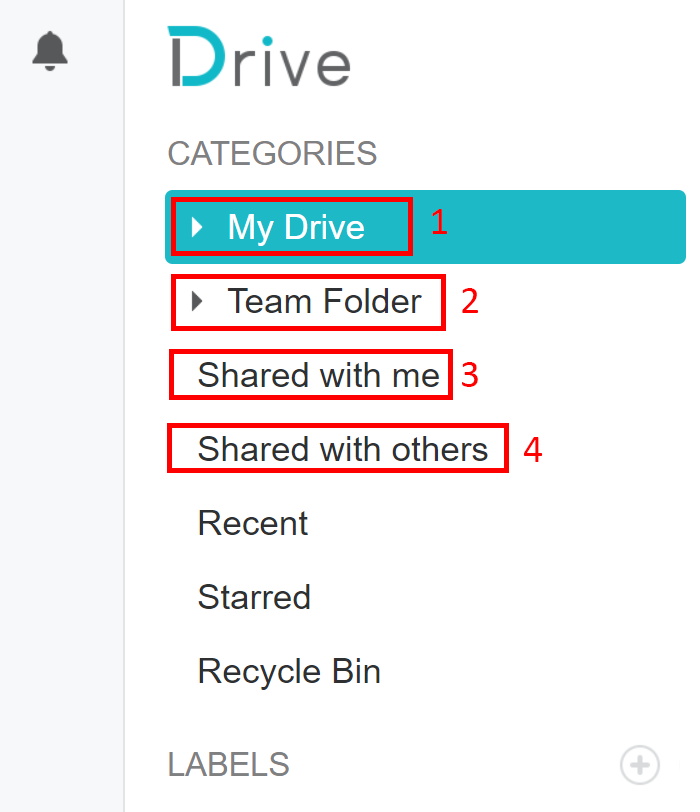
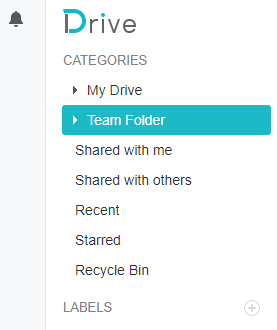
3. Navigation
|
|
1. Personal Data (Please store project data in the team folder) |
|
2. project data A team folder is created for each professorship. In this folder, any number of project folders can be created and shared with the project members. The heads of the professorship have sole owner rights and only they can assign rights to the project folders. |
|
| 3. overview of the folders and files shared with you | |
| 4. overview of folders and files you have shared with others |
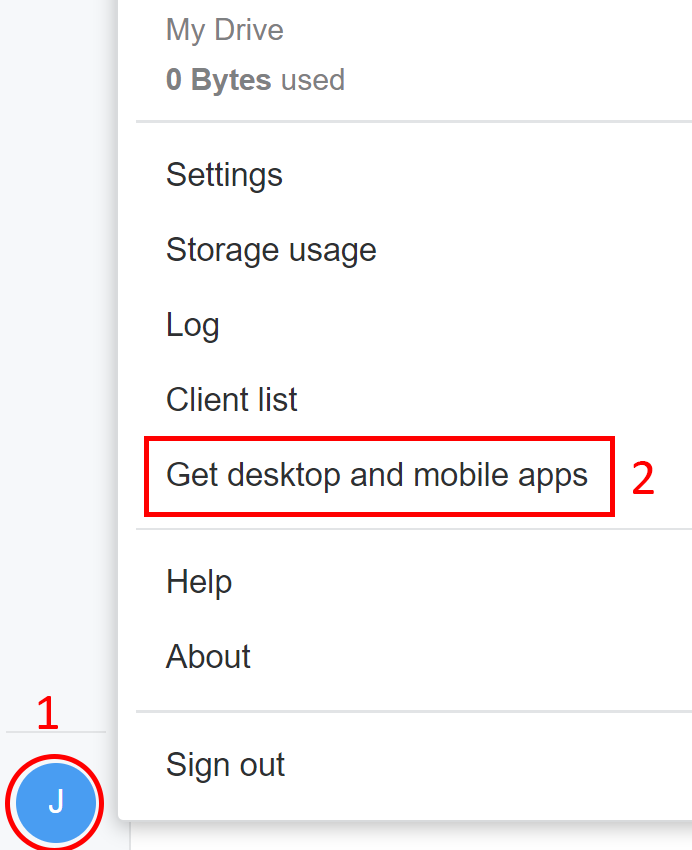
1. Click on the symbol at the bottom left
2. Click on "Get desktop and mobile apps".
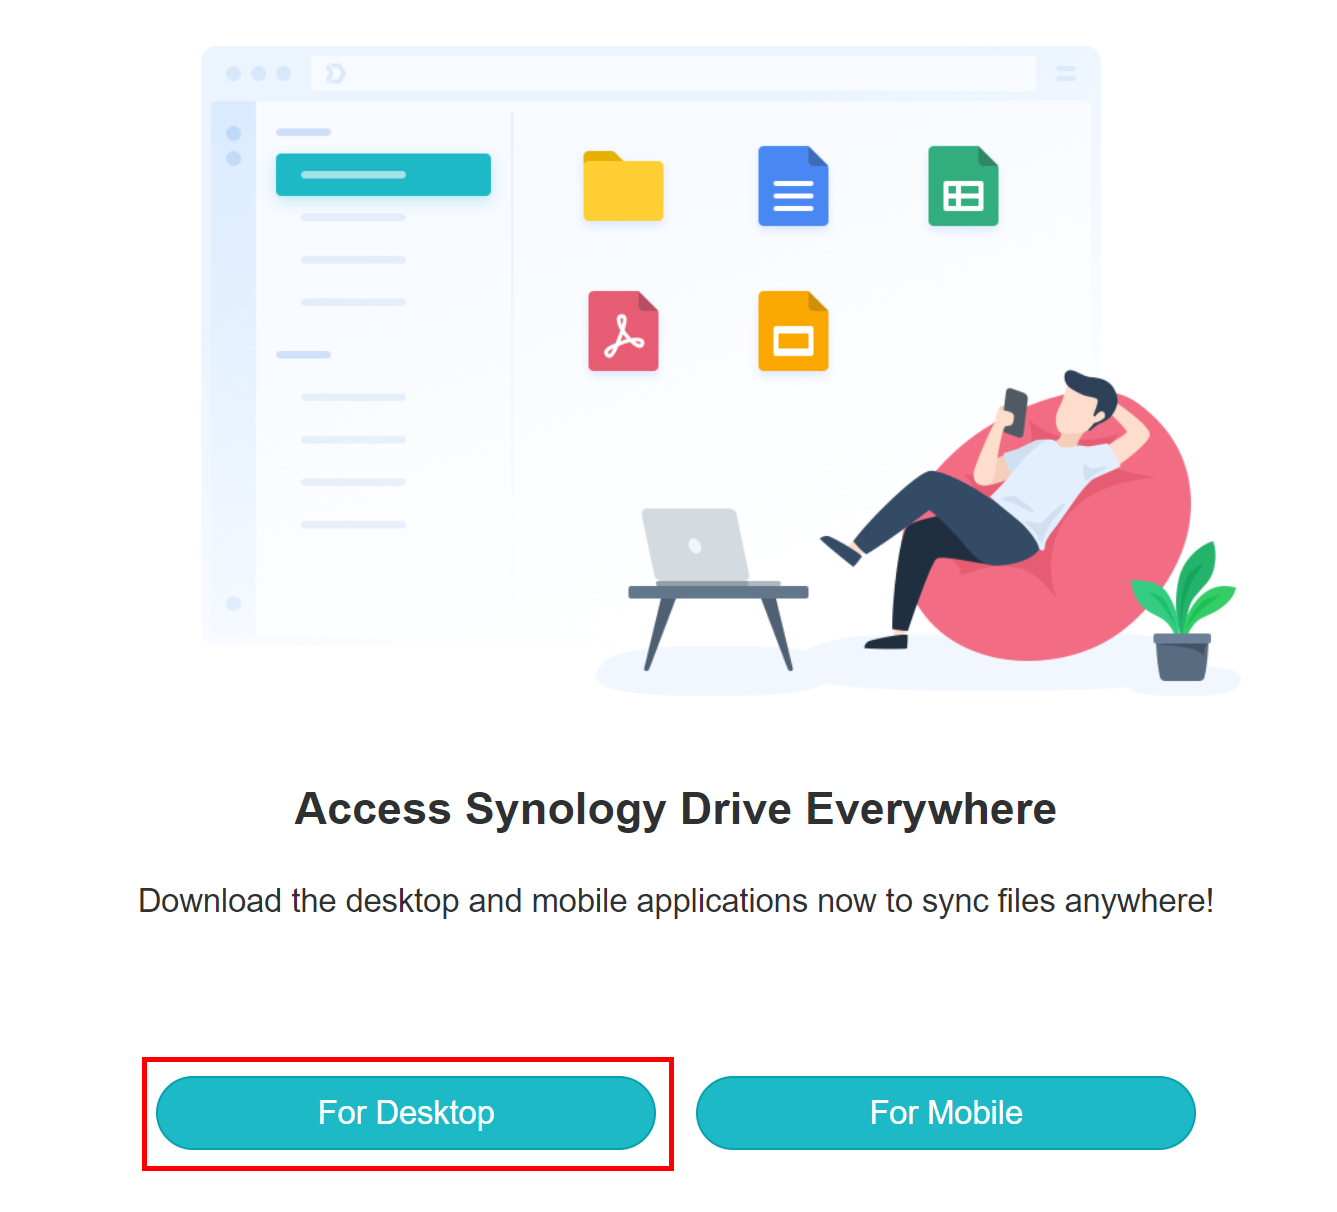
Click on "For Desktop". Download starts
Install the client after the download.
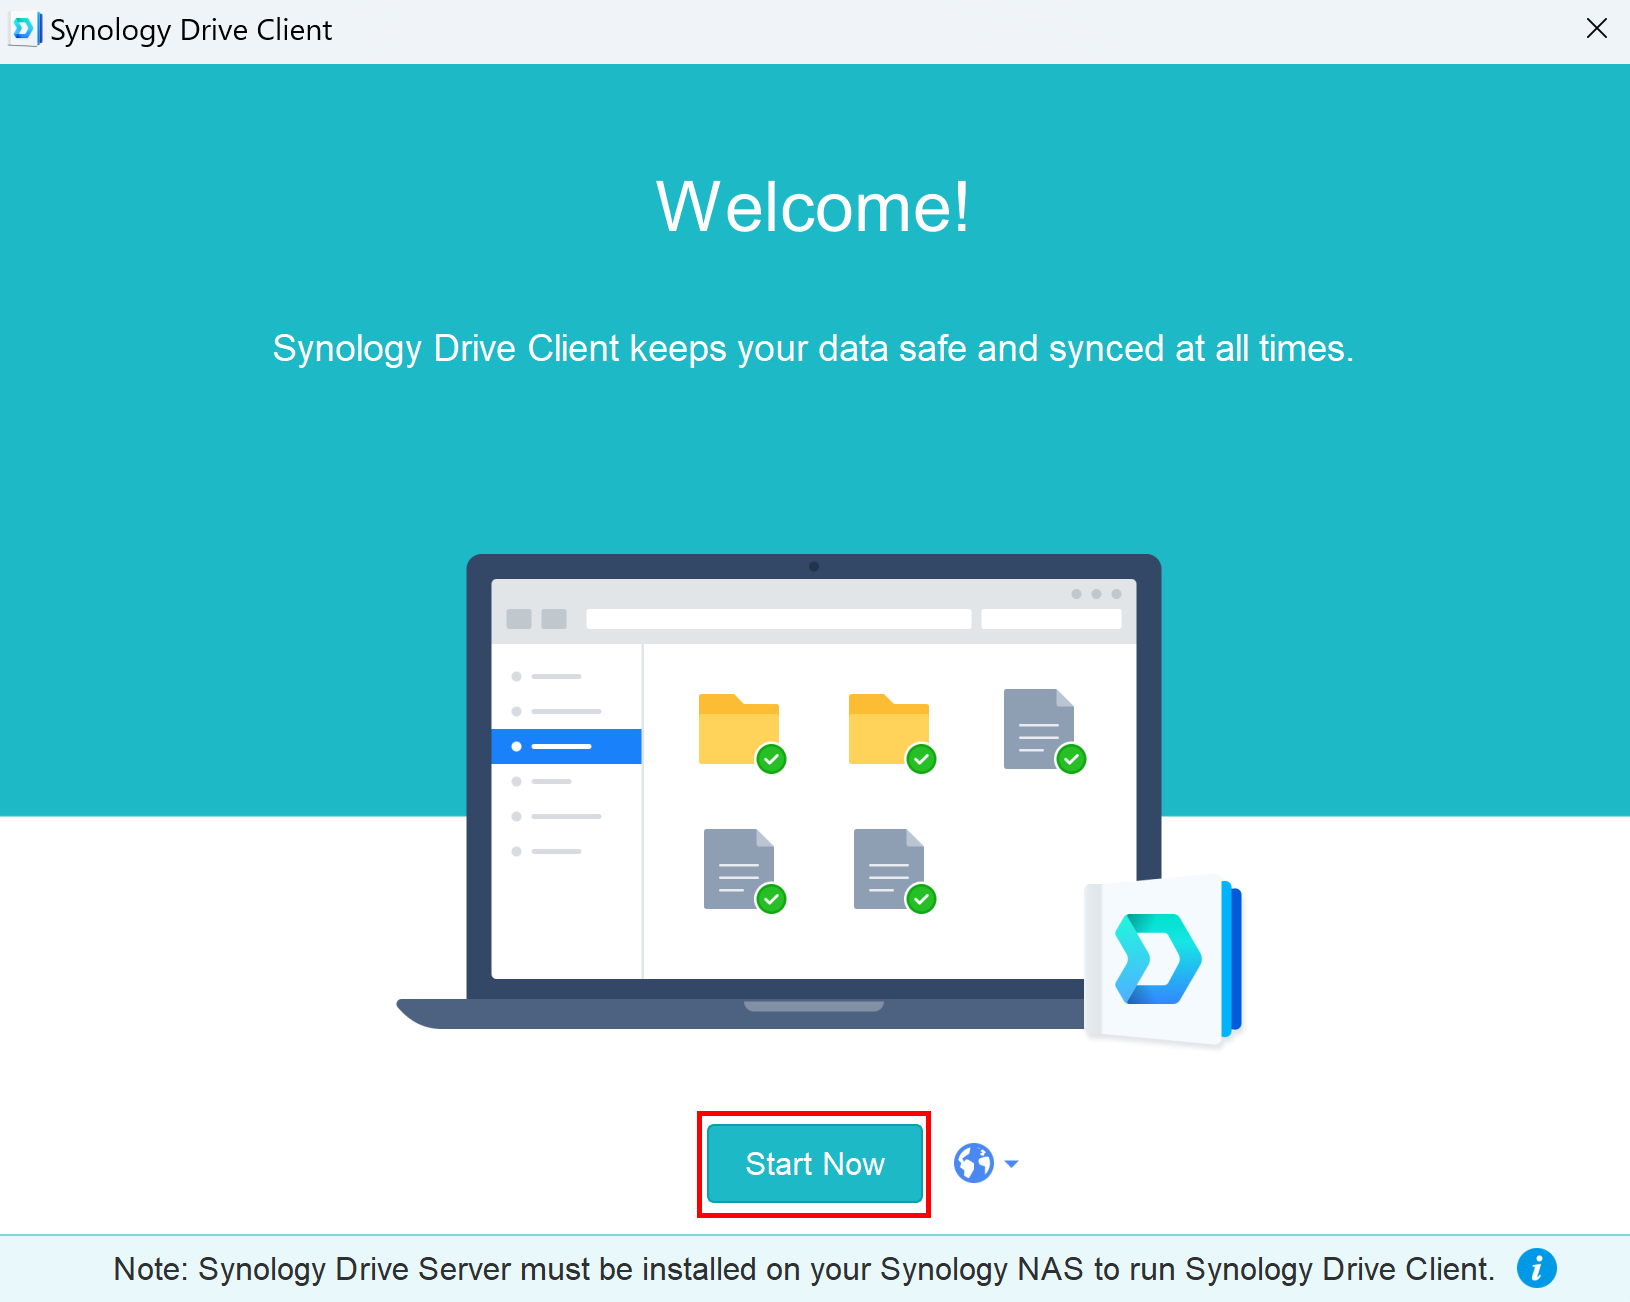
If the client does not start automatically after installation, start it from the programme menu.
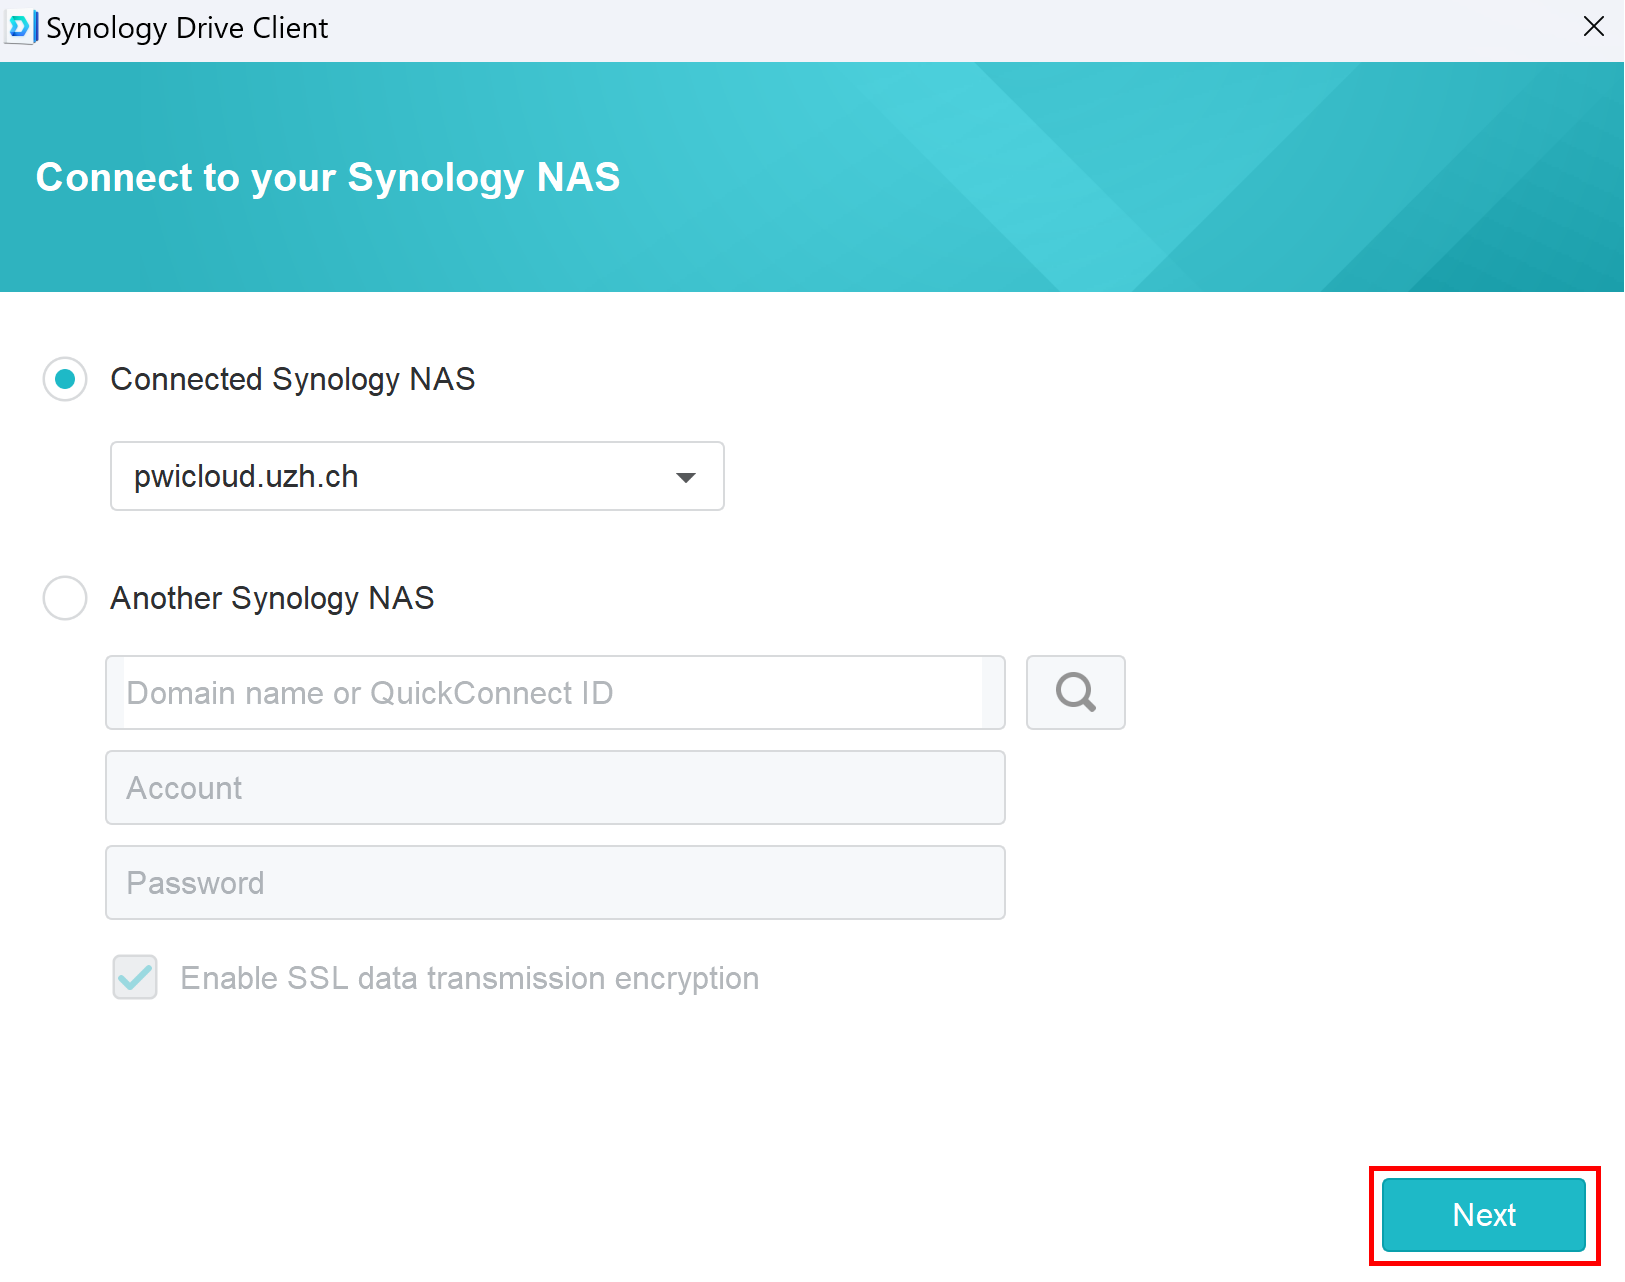
Click on "Start now"
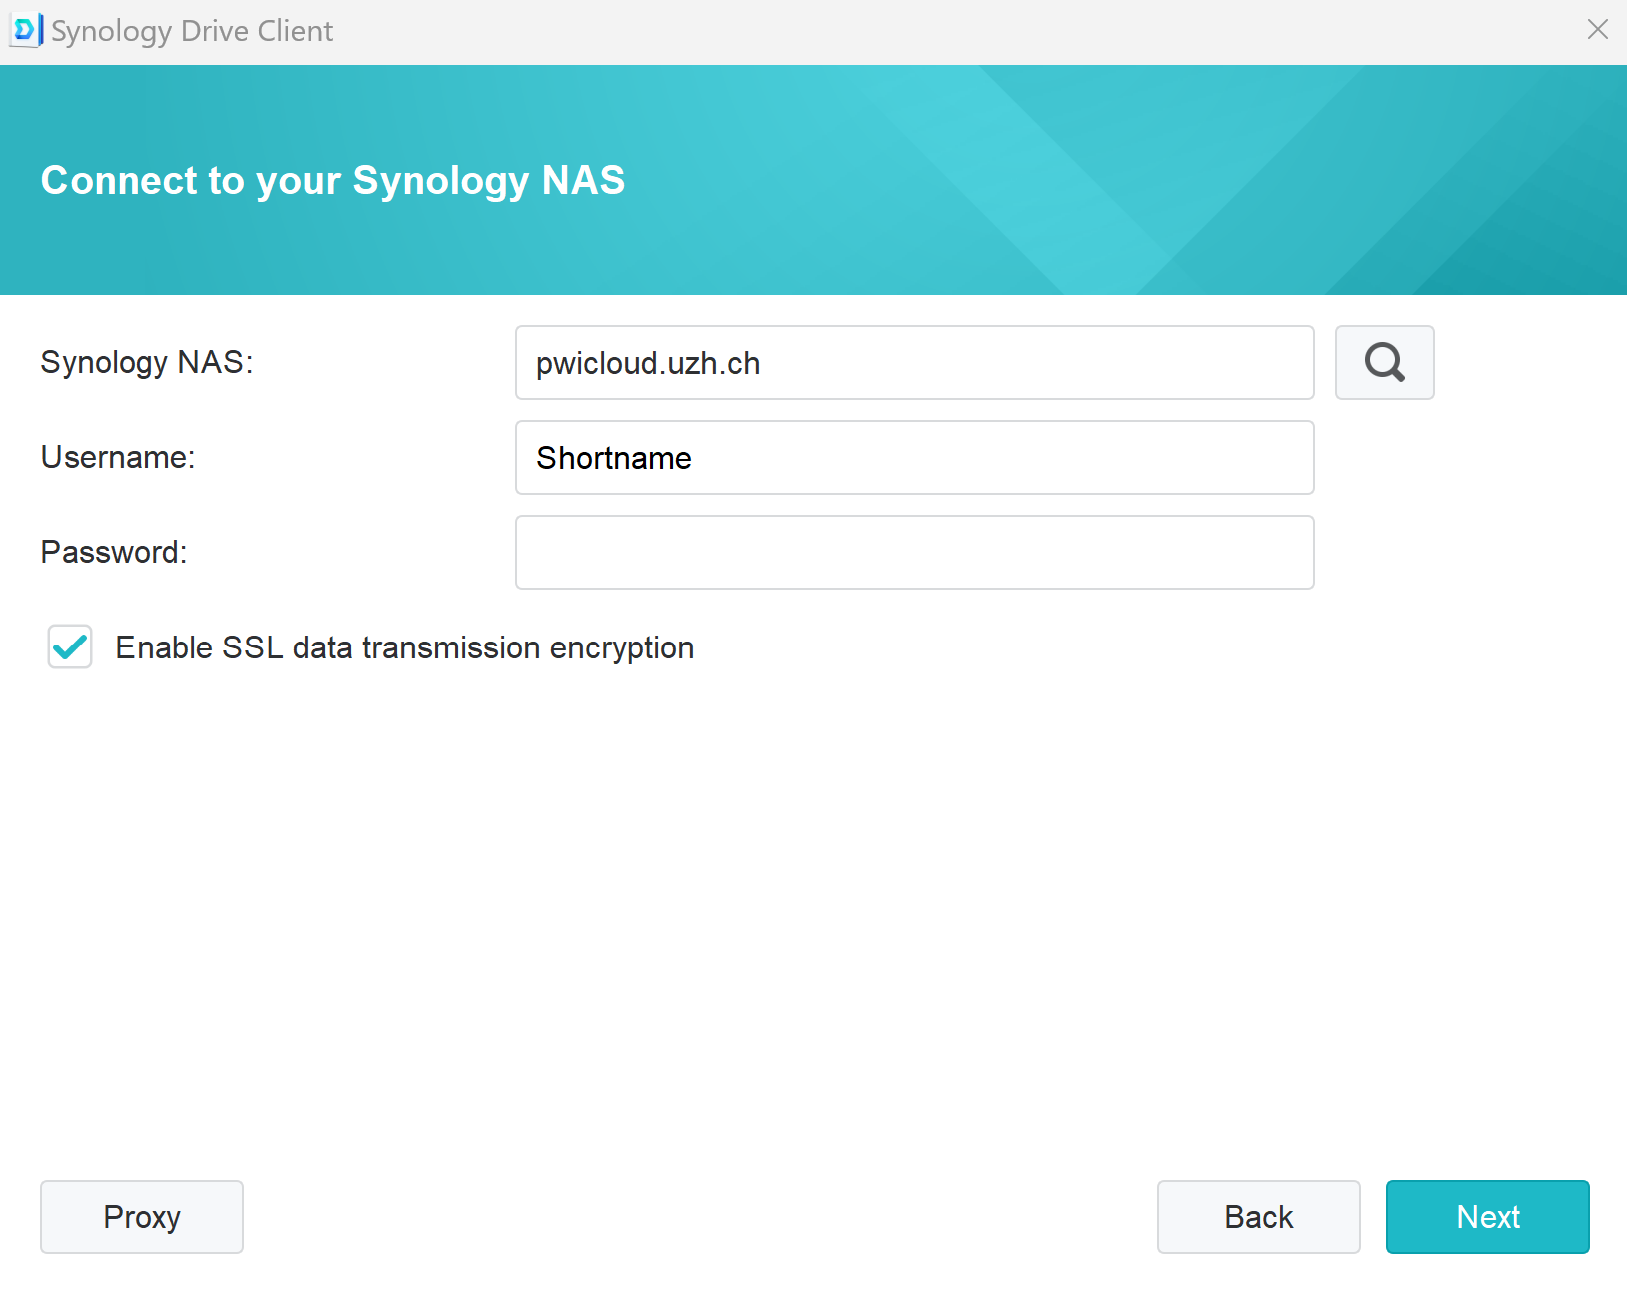
The server name is pwicloud.uzh.ch
Log in via the AD service (shortname + password).
Click on "Next"
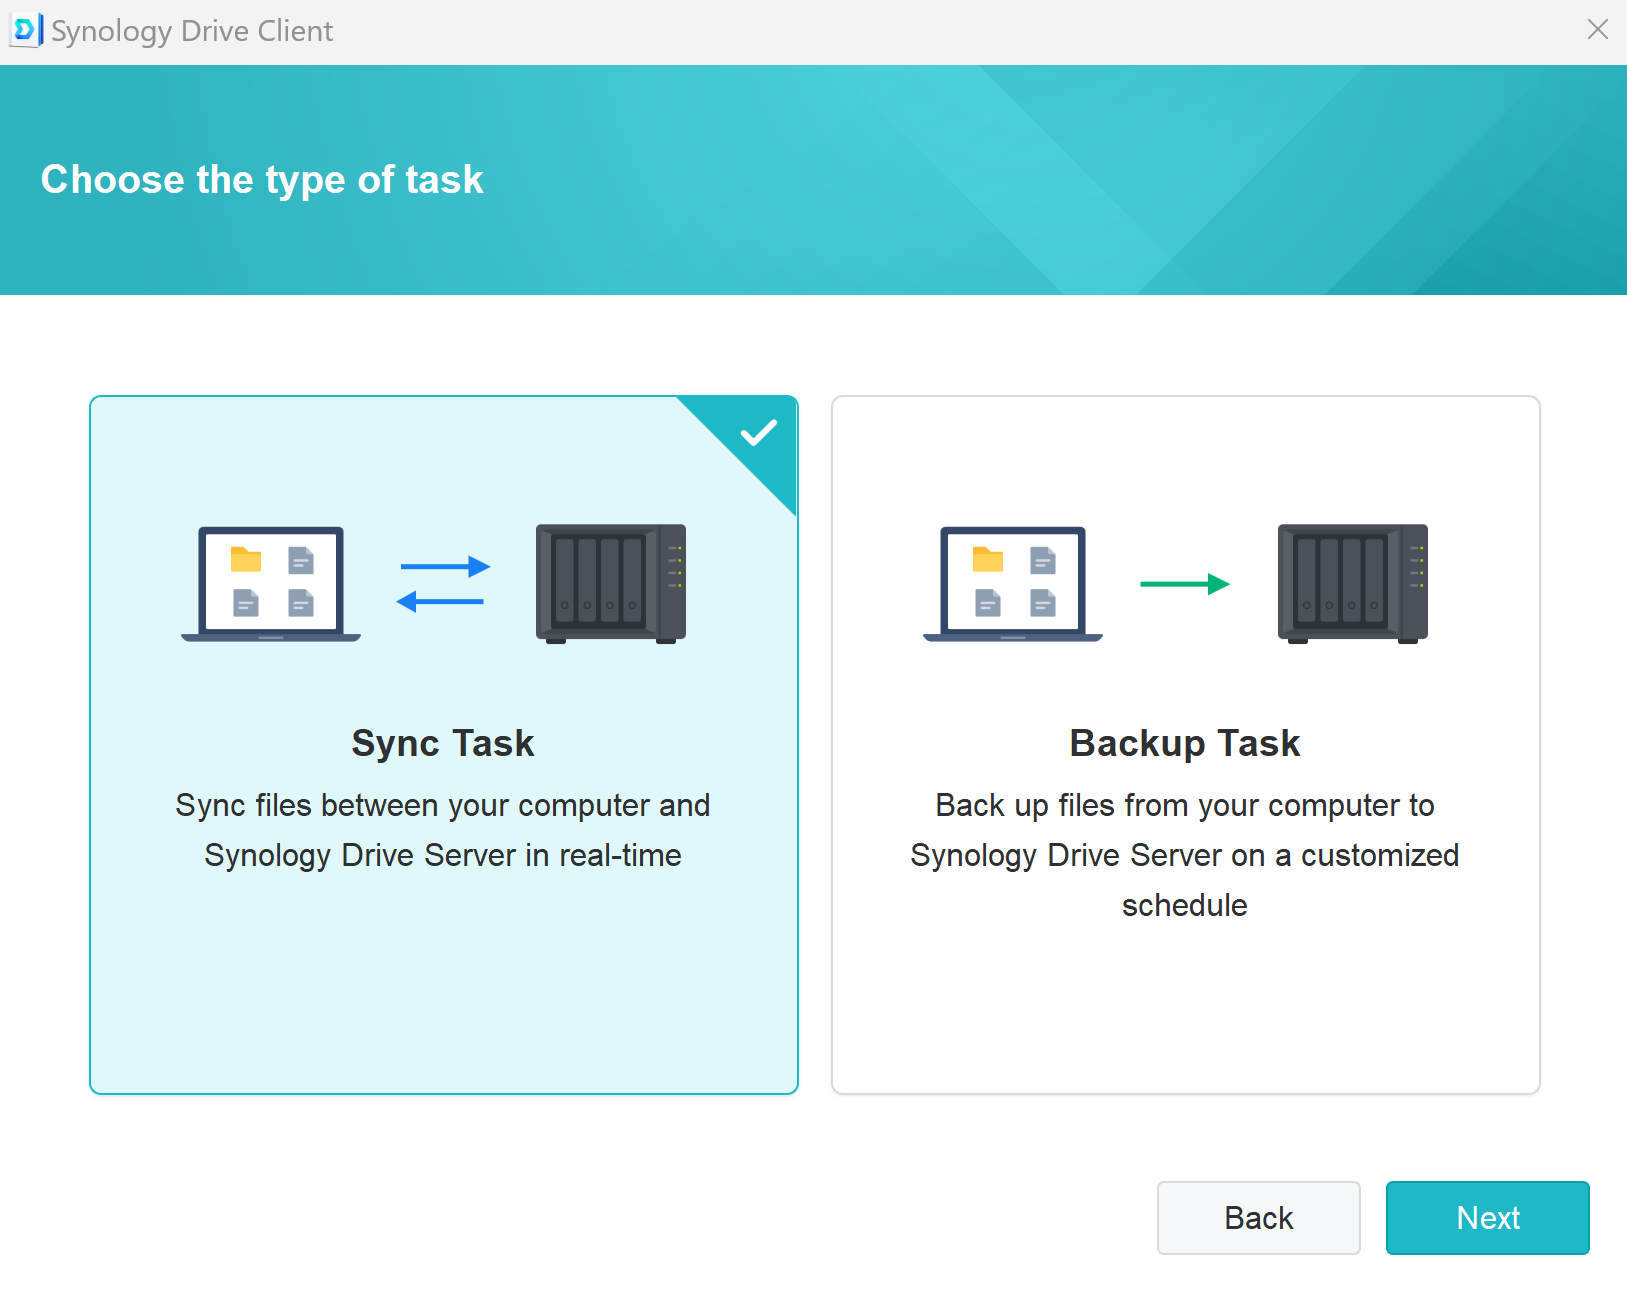
Select "Sync Task"
Click on "Next"
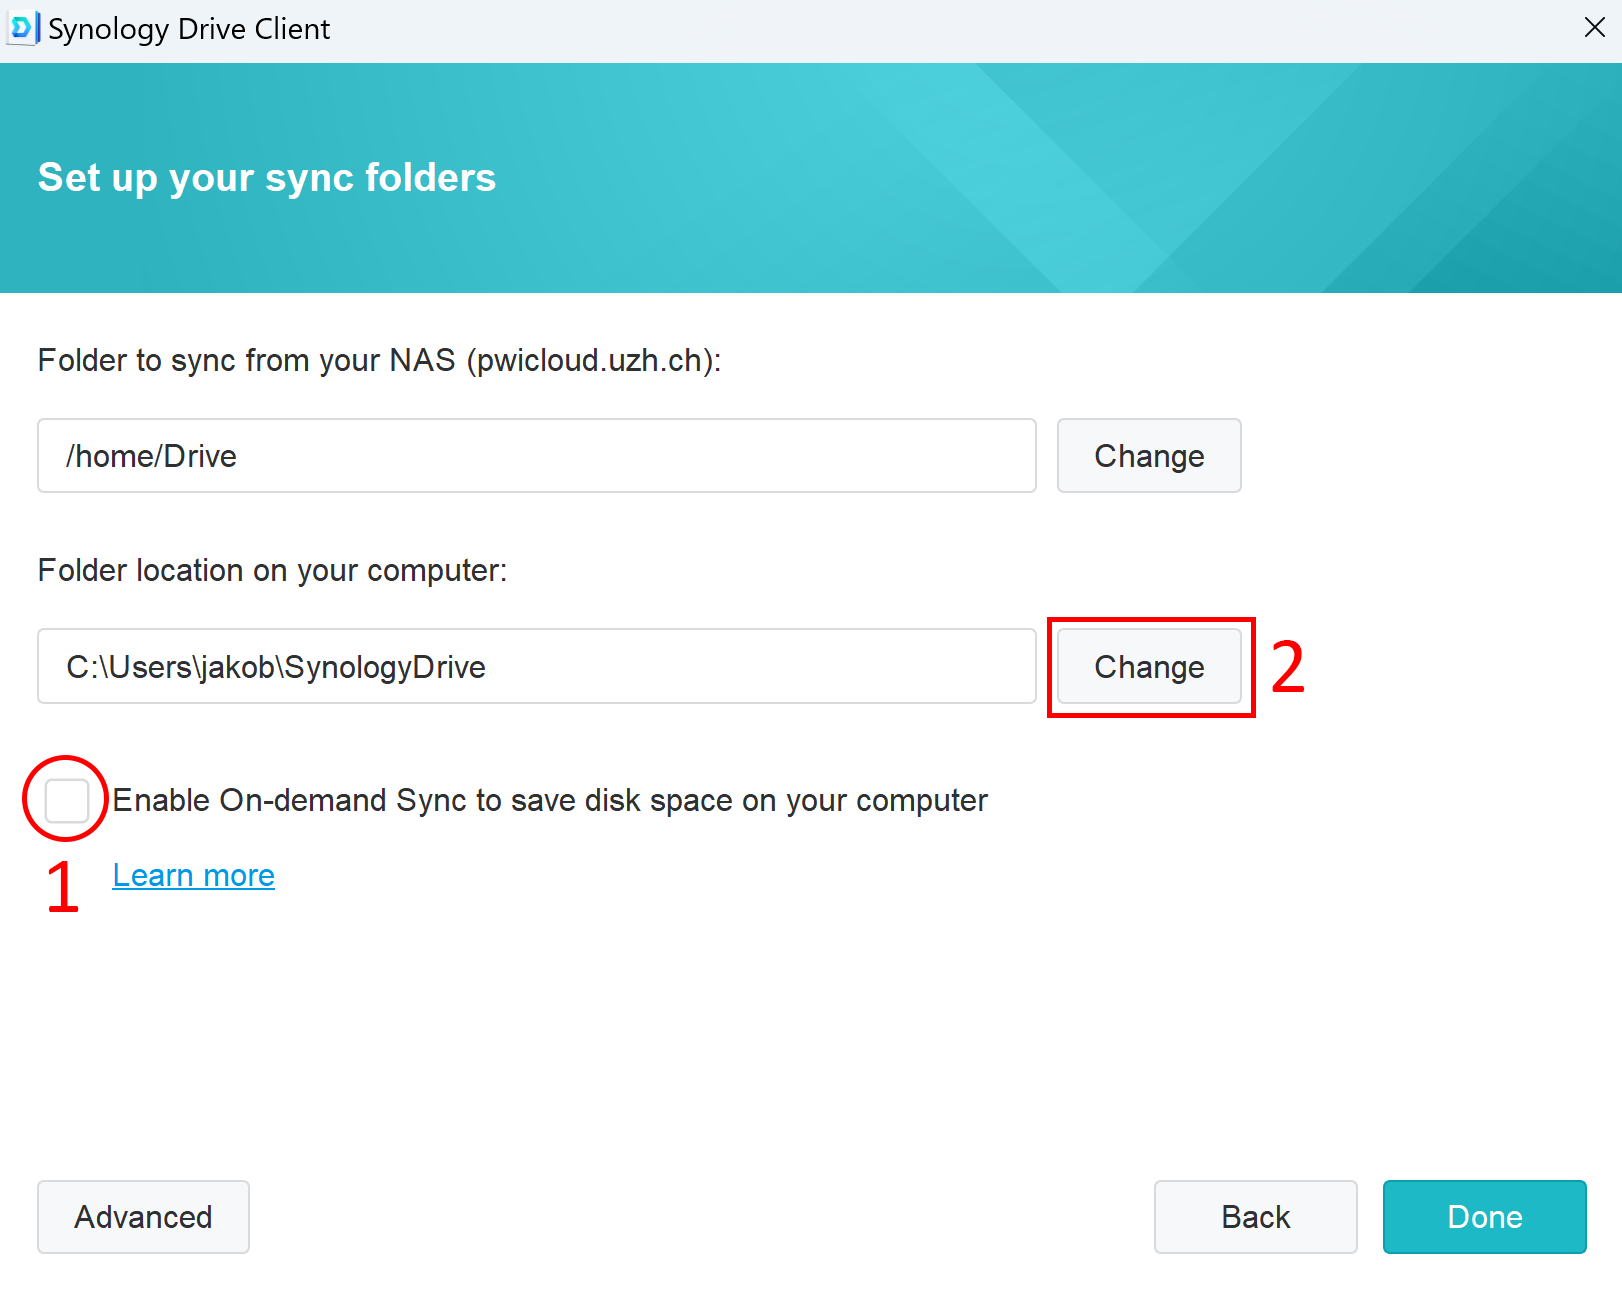
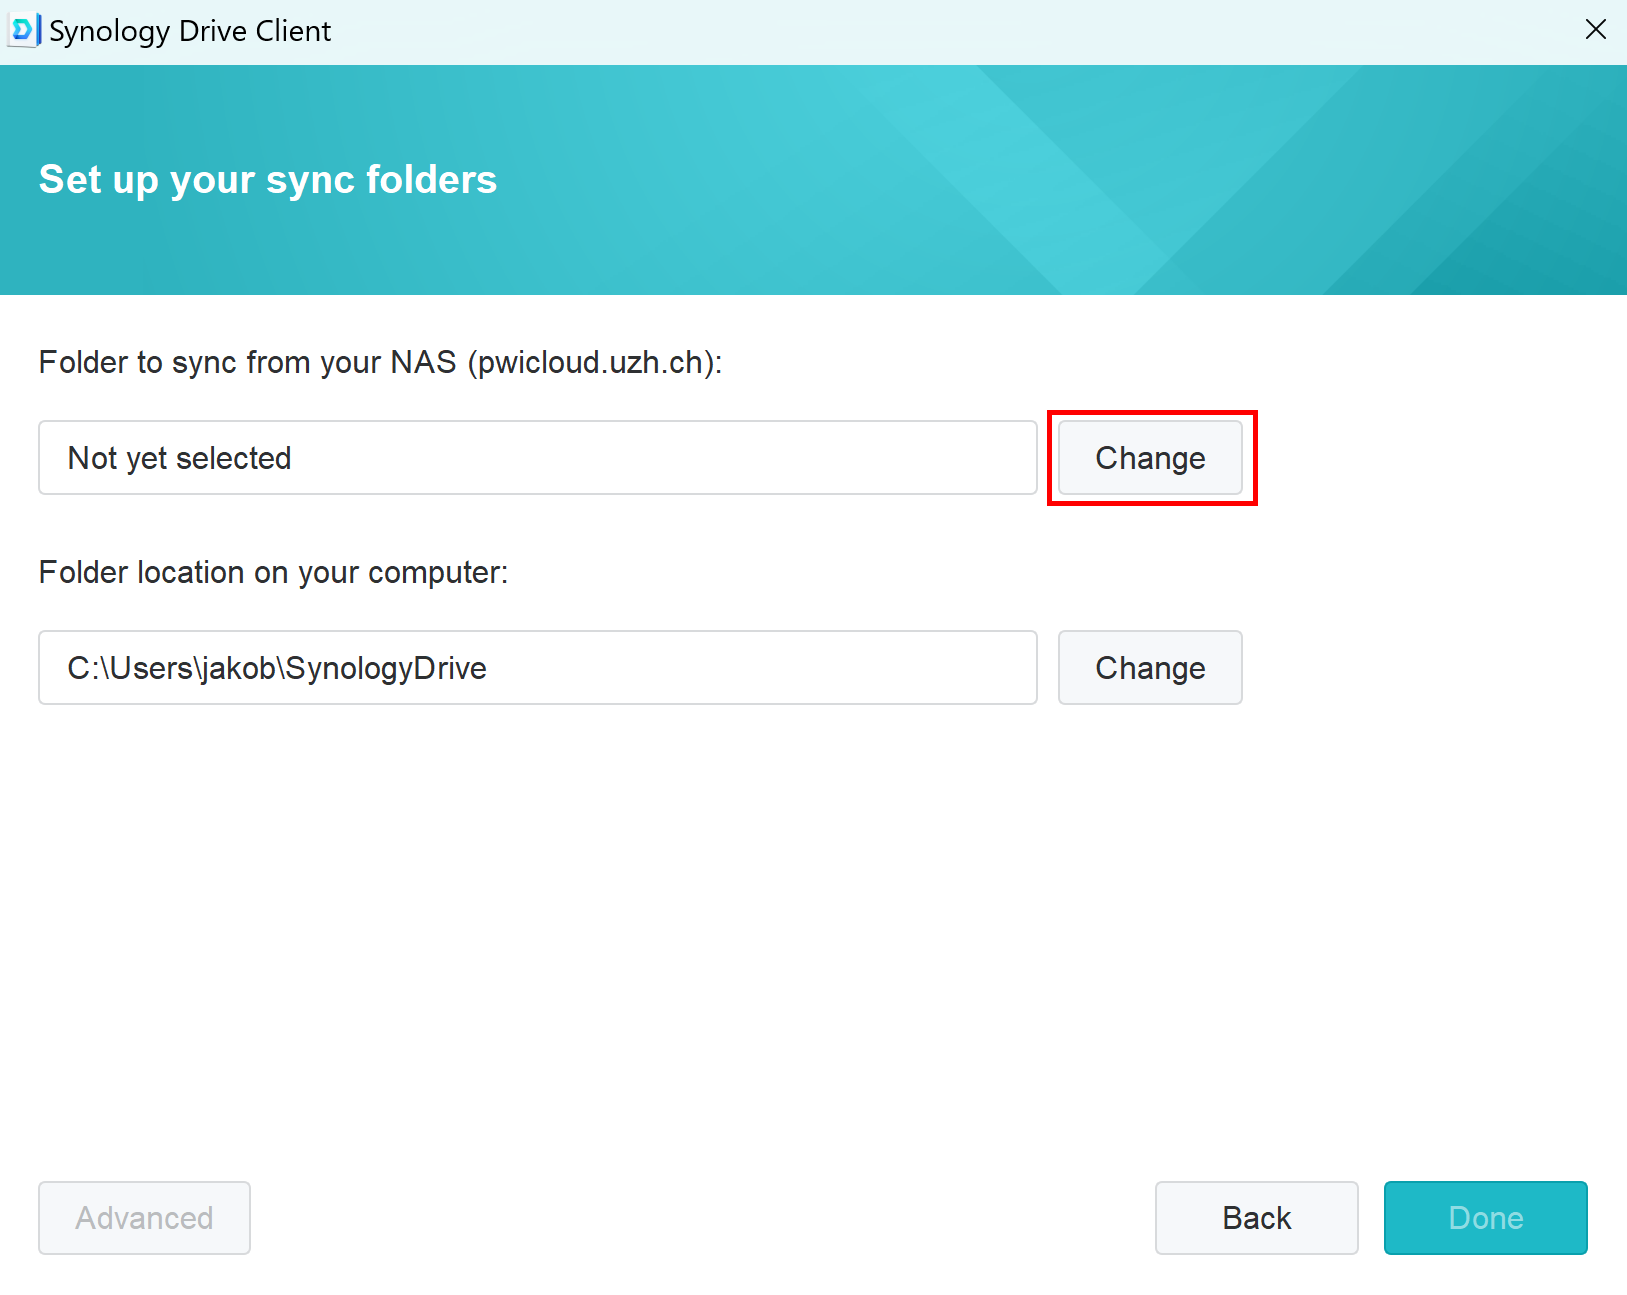
1. Deactivate the synchronisation if required. (Unless you explicitly wish to do so. Note that not all data will be available offline).
2. Click on "Change"
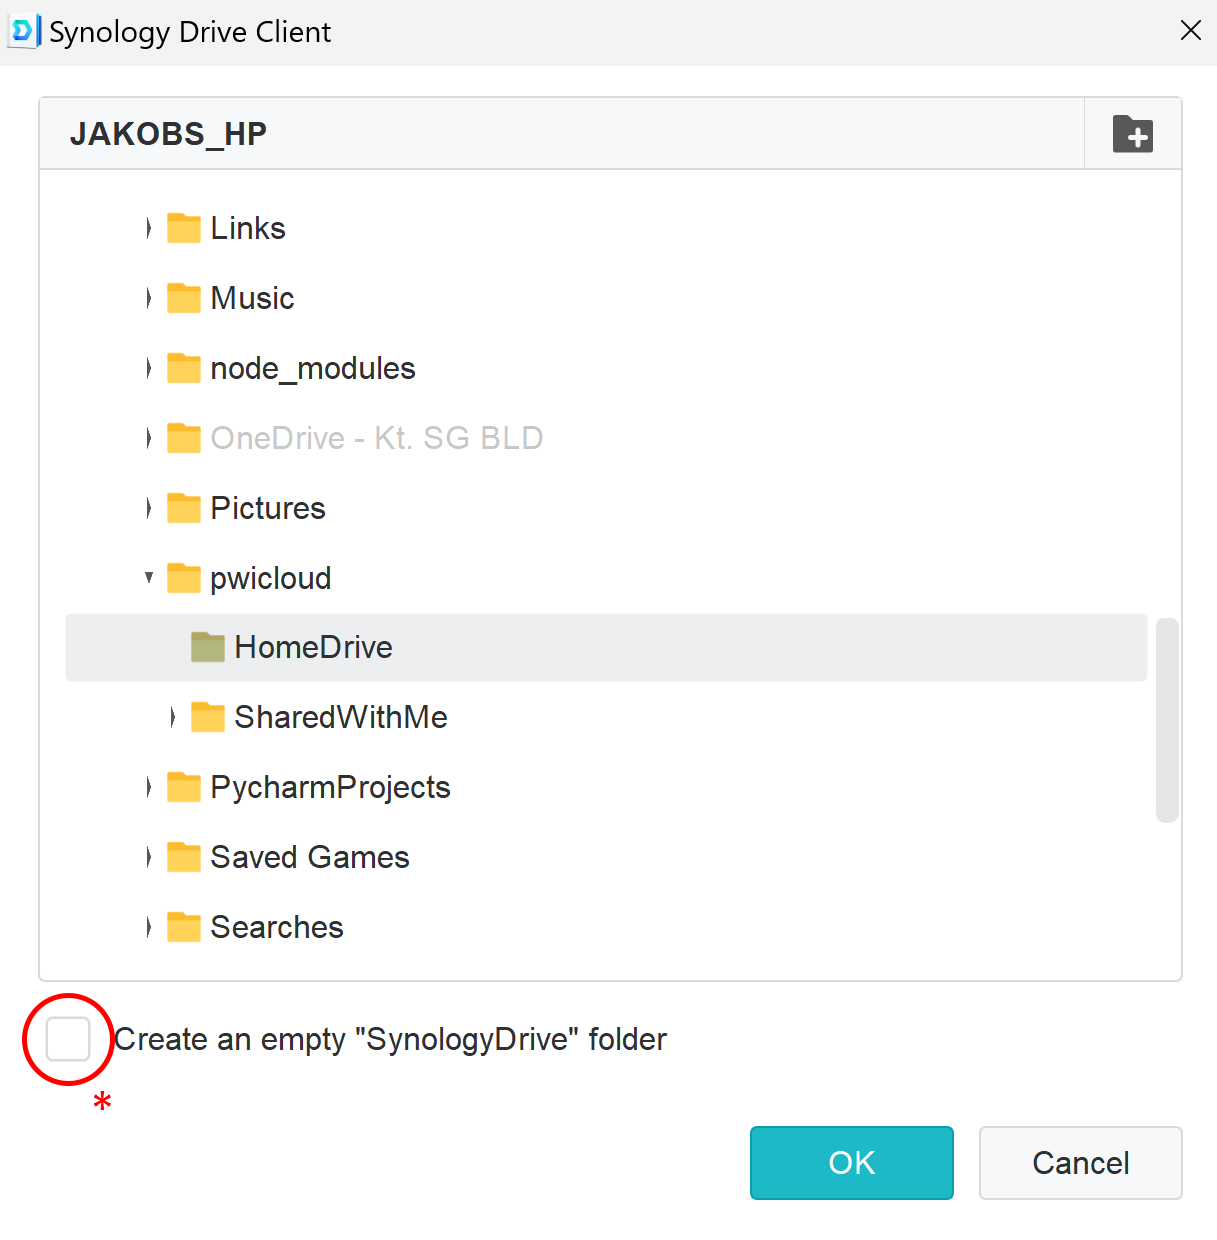
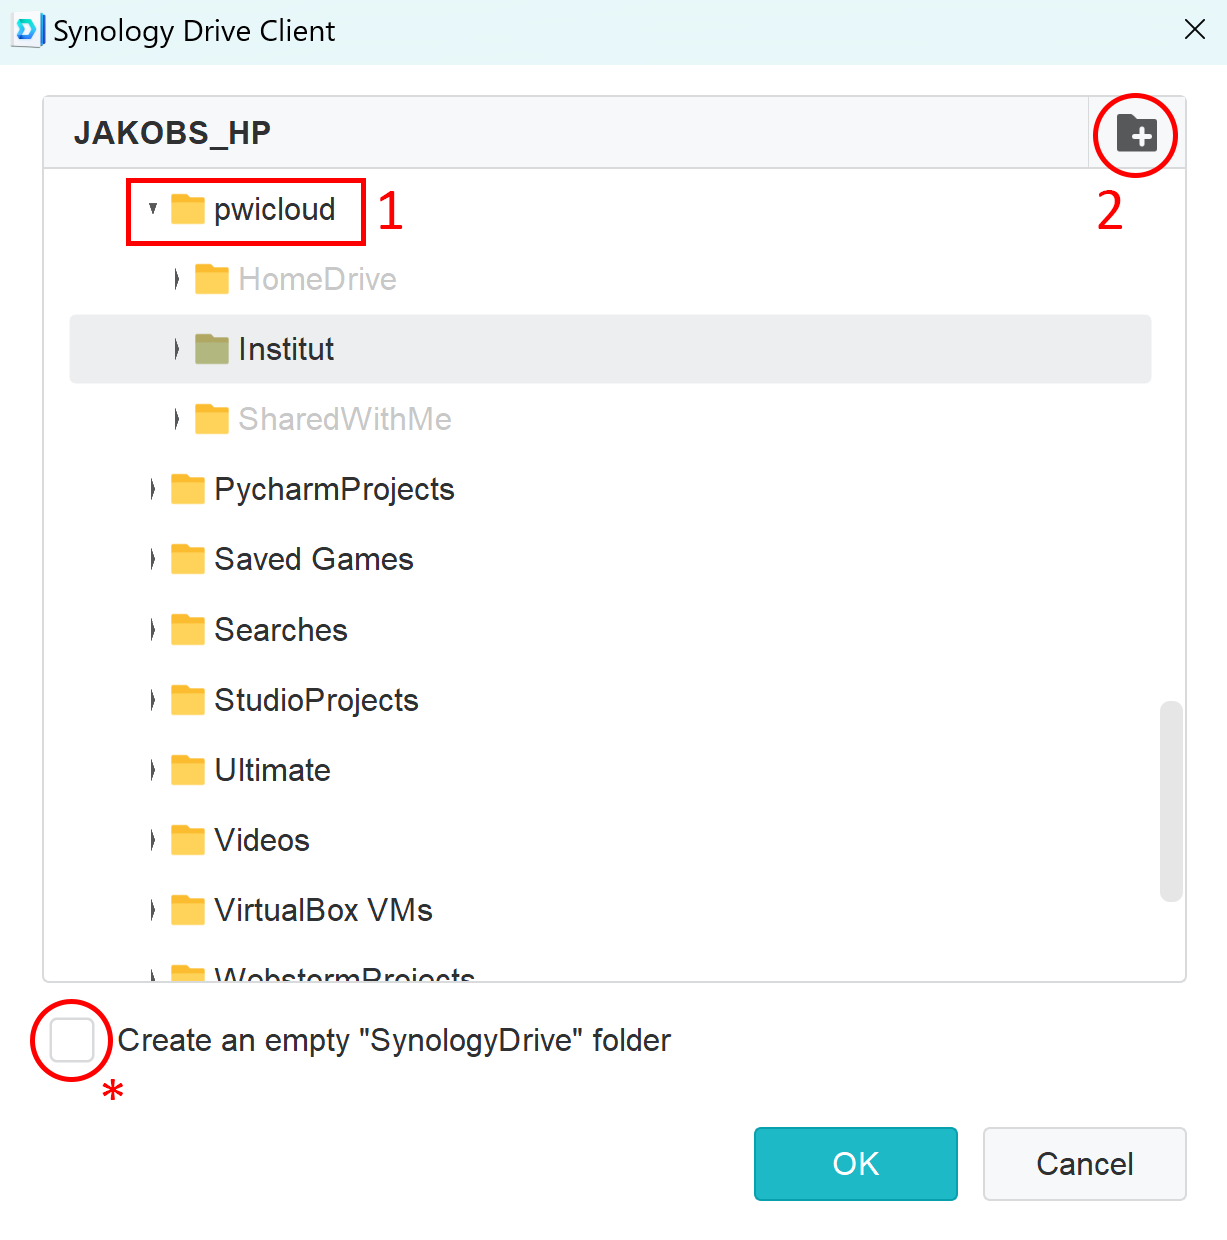
- Create a folder named "pwicloud" in a local storage location of your choice.
- Create two subfolders named "HomeDrive" and "SharedWithMe" in the "pwicloud" folder.
- Highlight the "HomeDrive" folder you have just created.
- * Deactivate! (Create empty folder "SynologyDrive")
- Click on "OK"
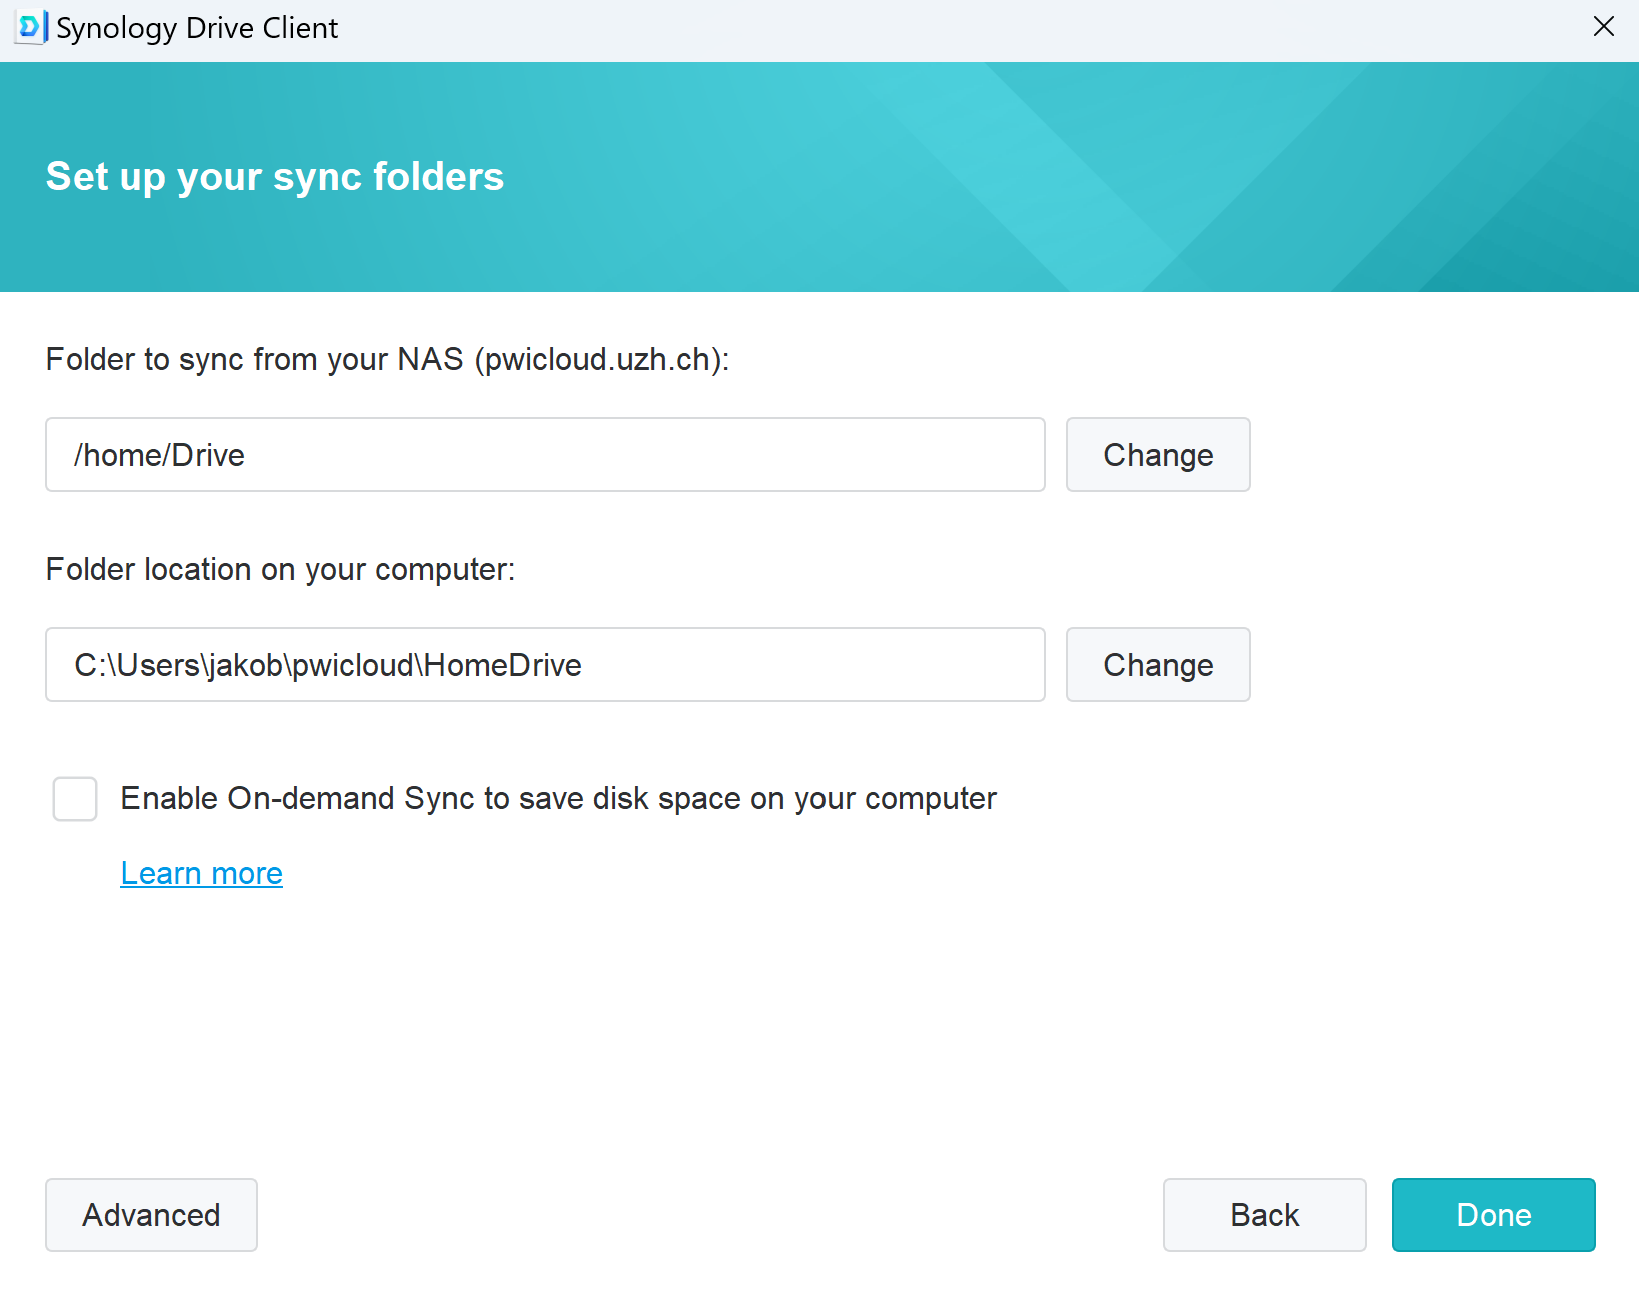
Click on "Done"
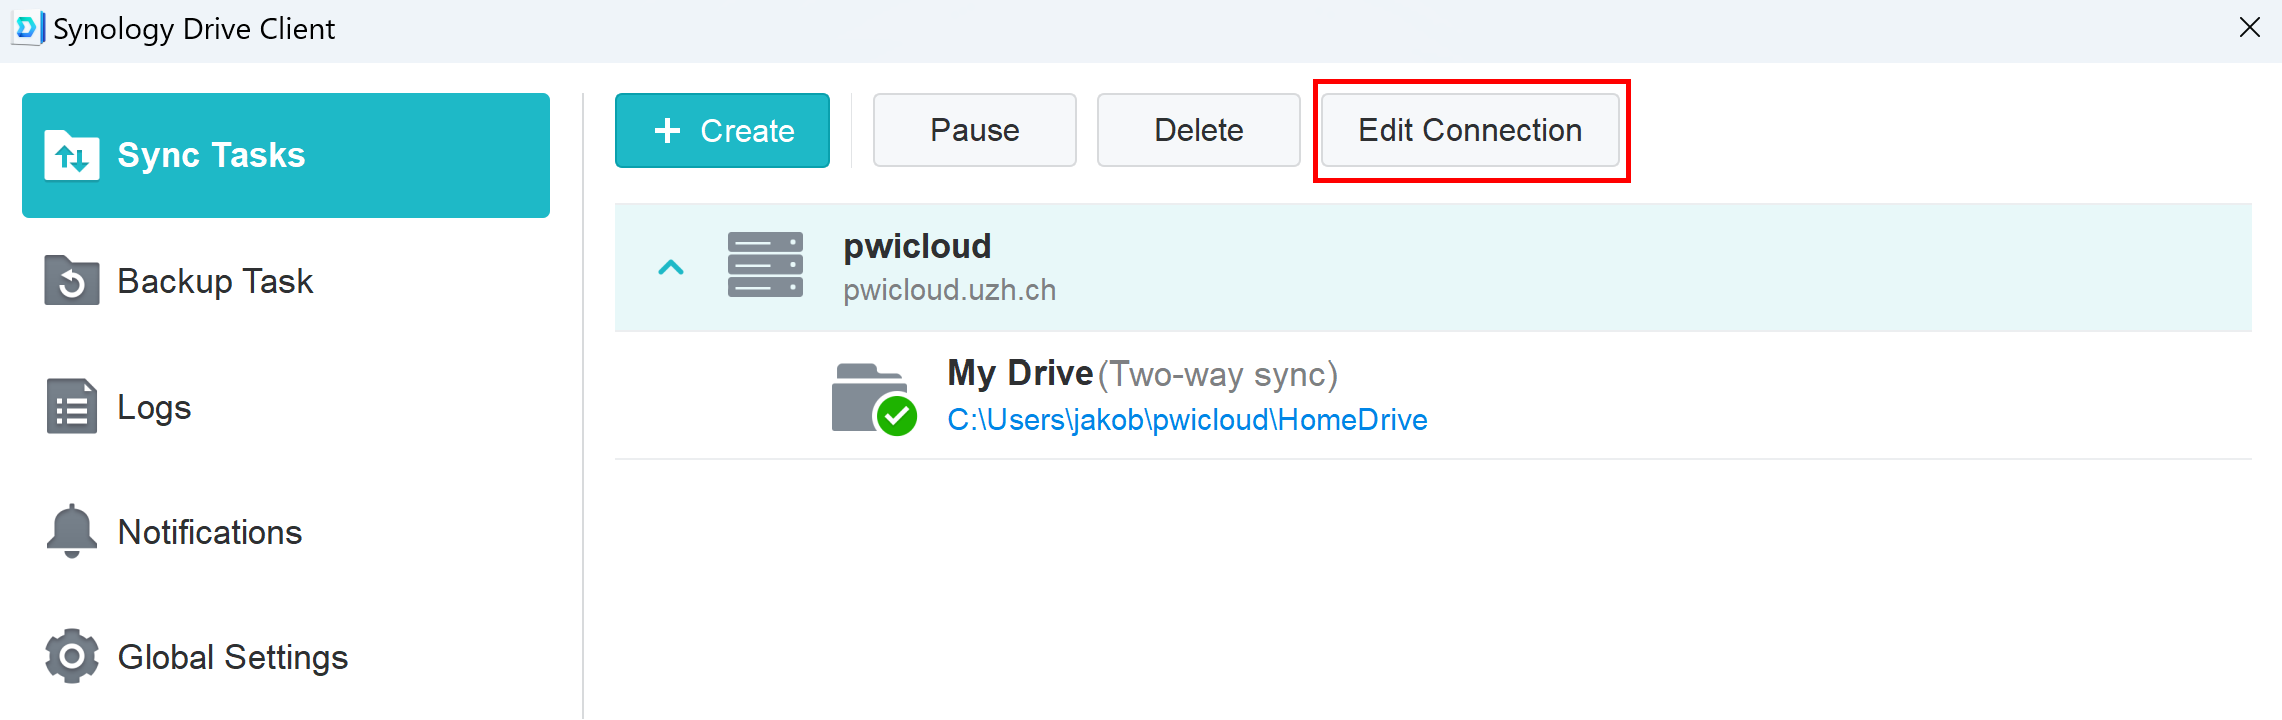
Click on "Edit connection"
1. go to "Shared with me".
2. Activate (Enable syncing "Shared with me").
3. Click on "Change"
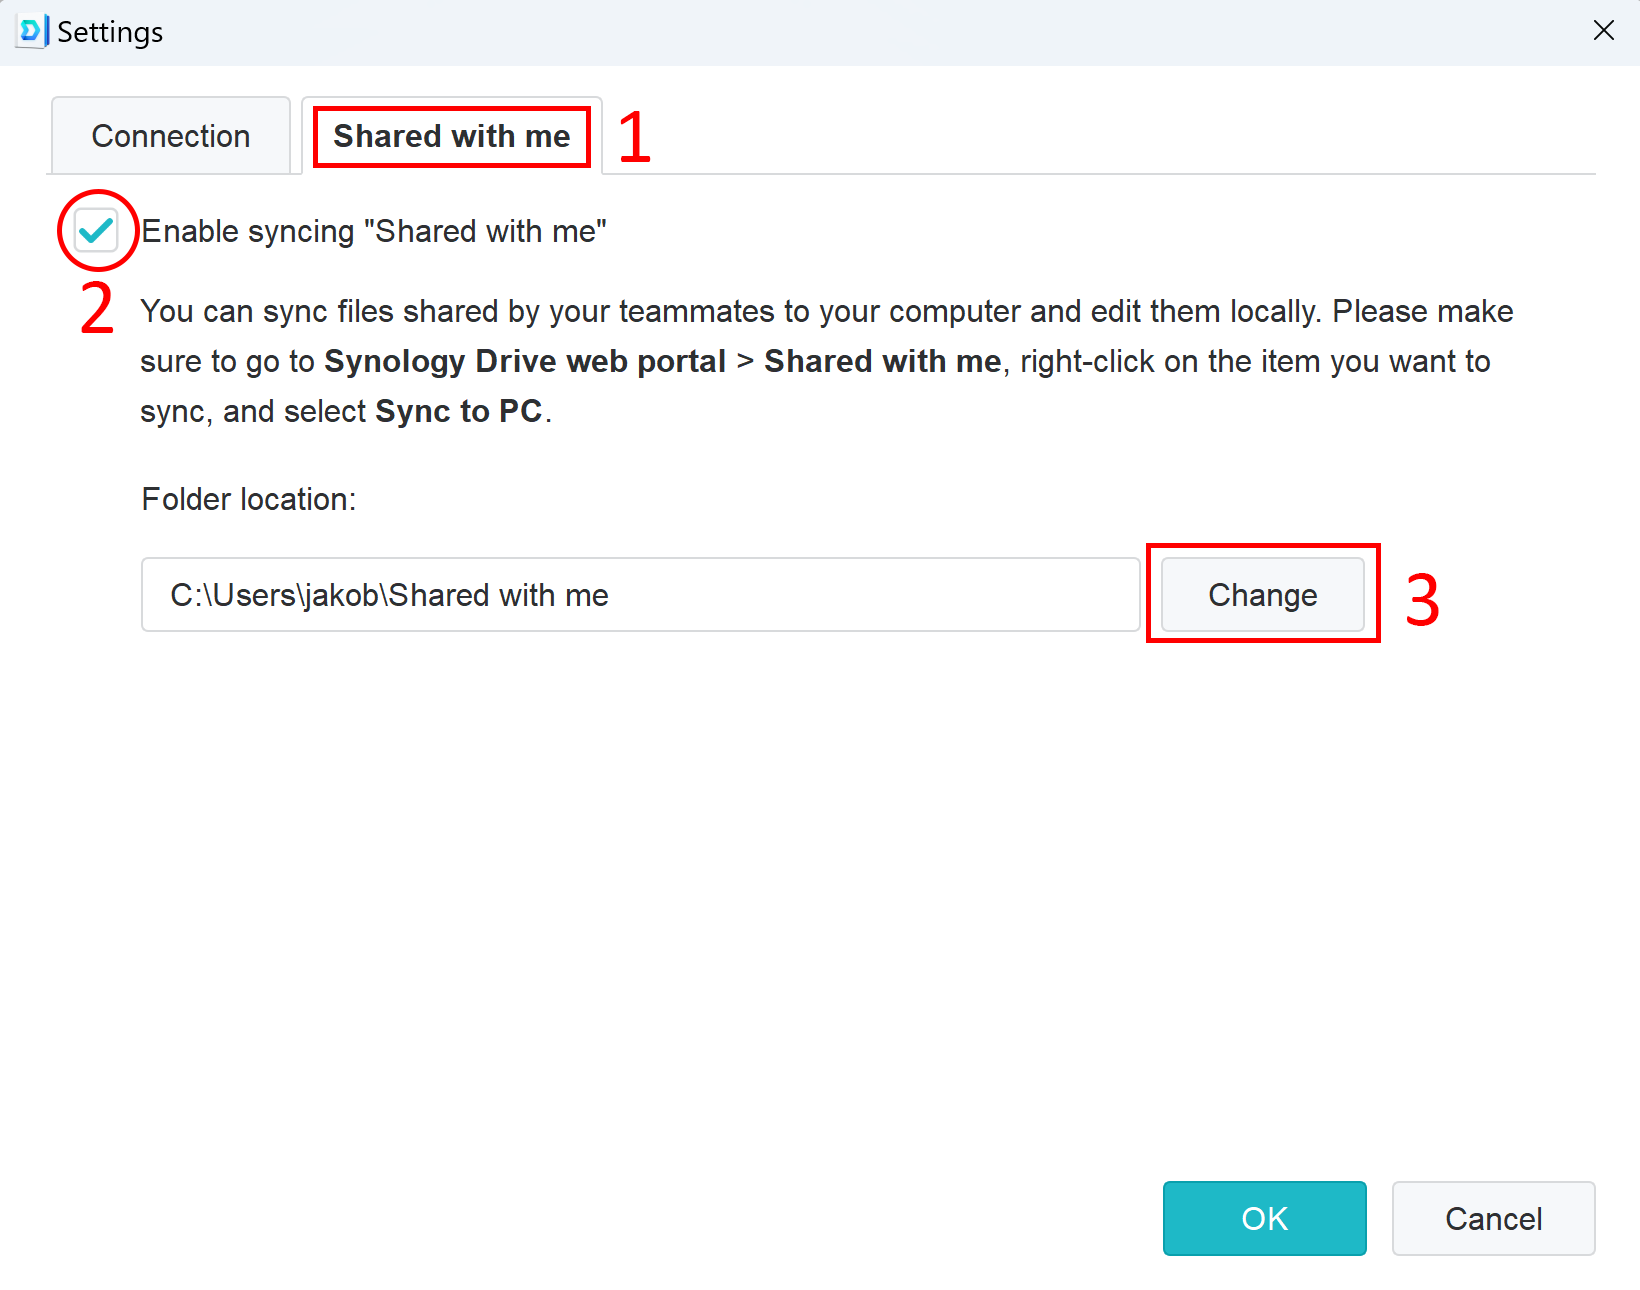
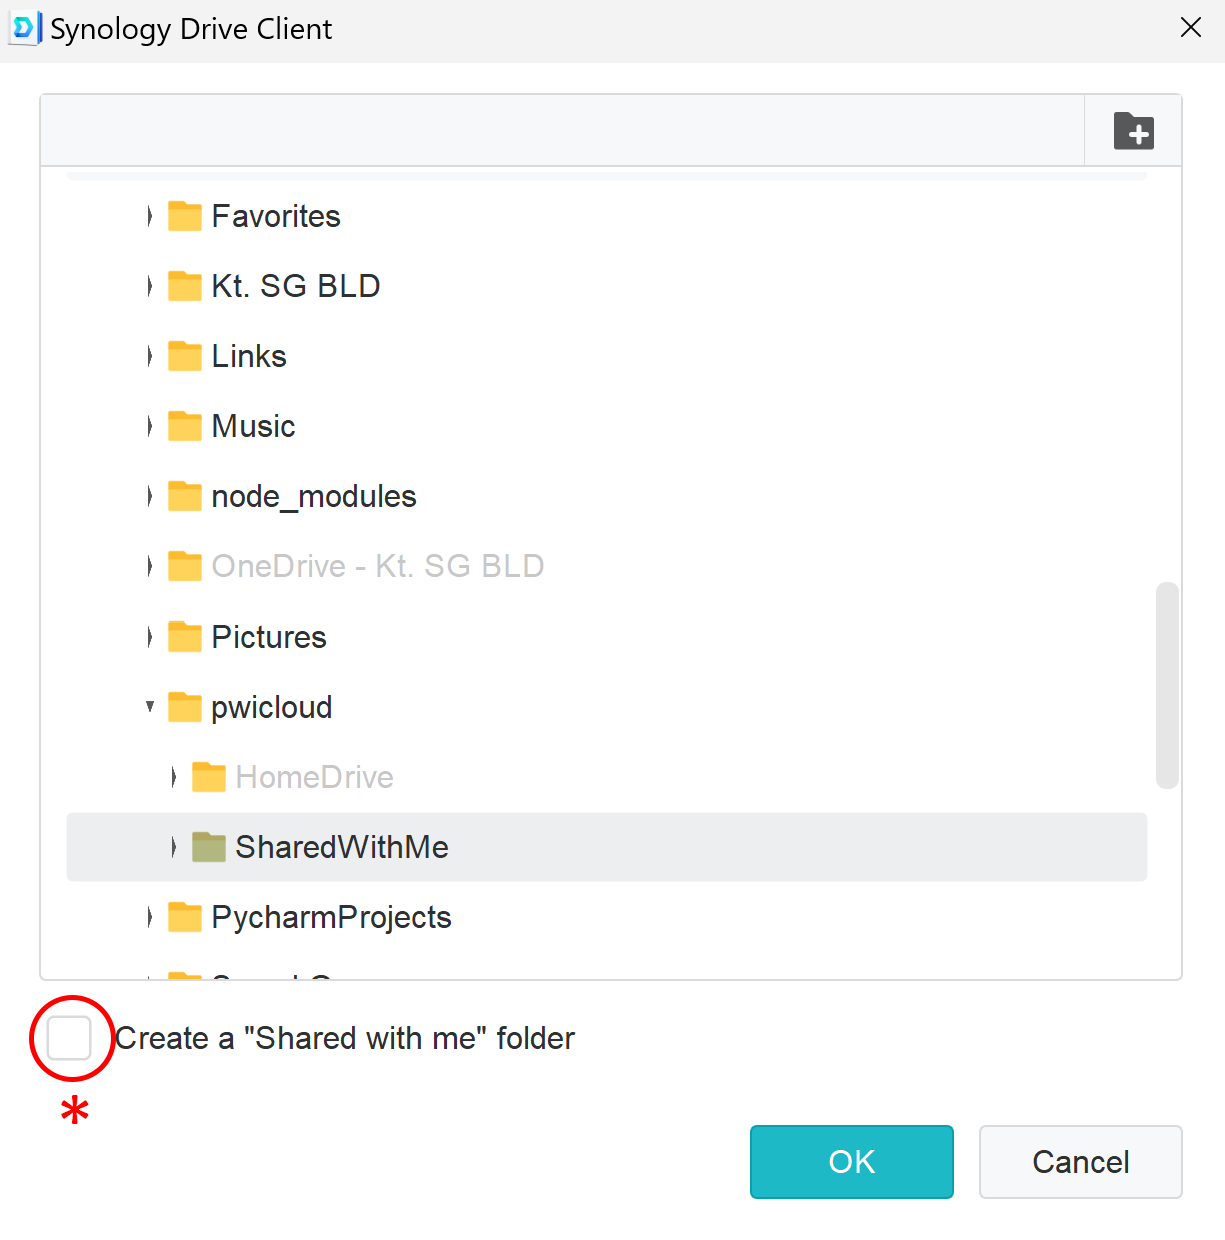
- Highlight the folder "SharedWithMe"
- * Deactivate! (Create a "Shared with me" folder)
- Confirm everything with "OK"
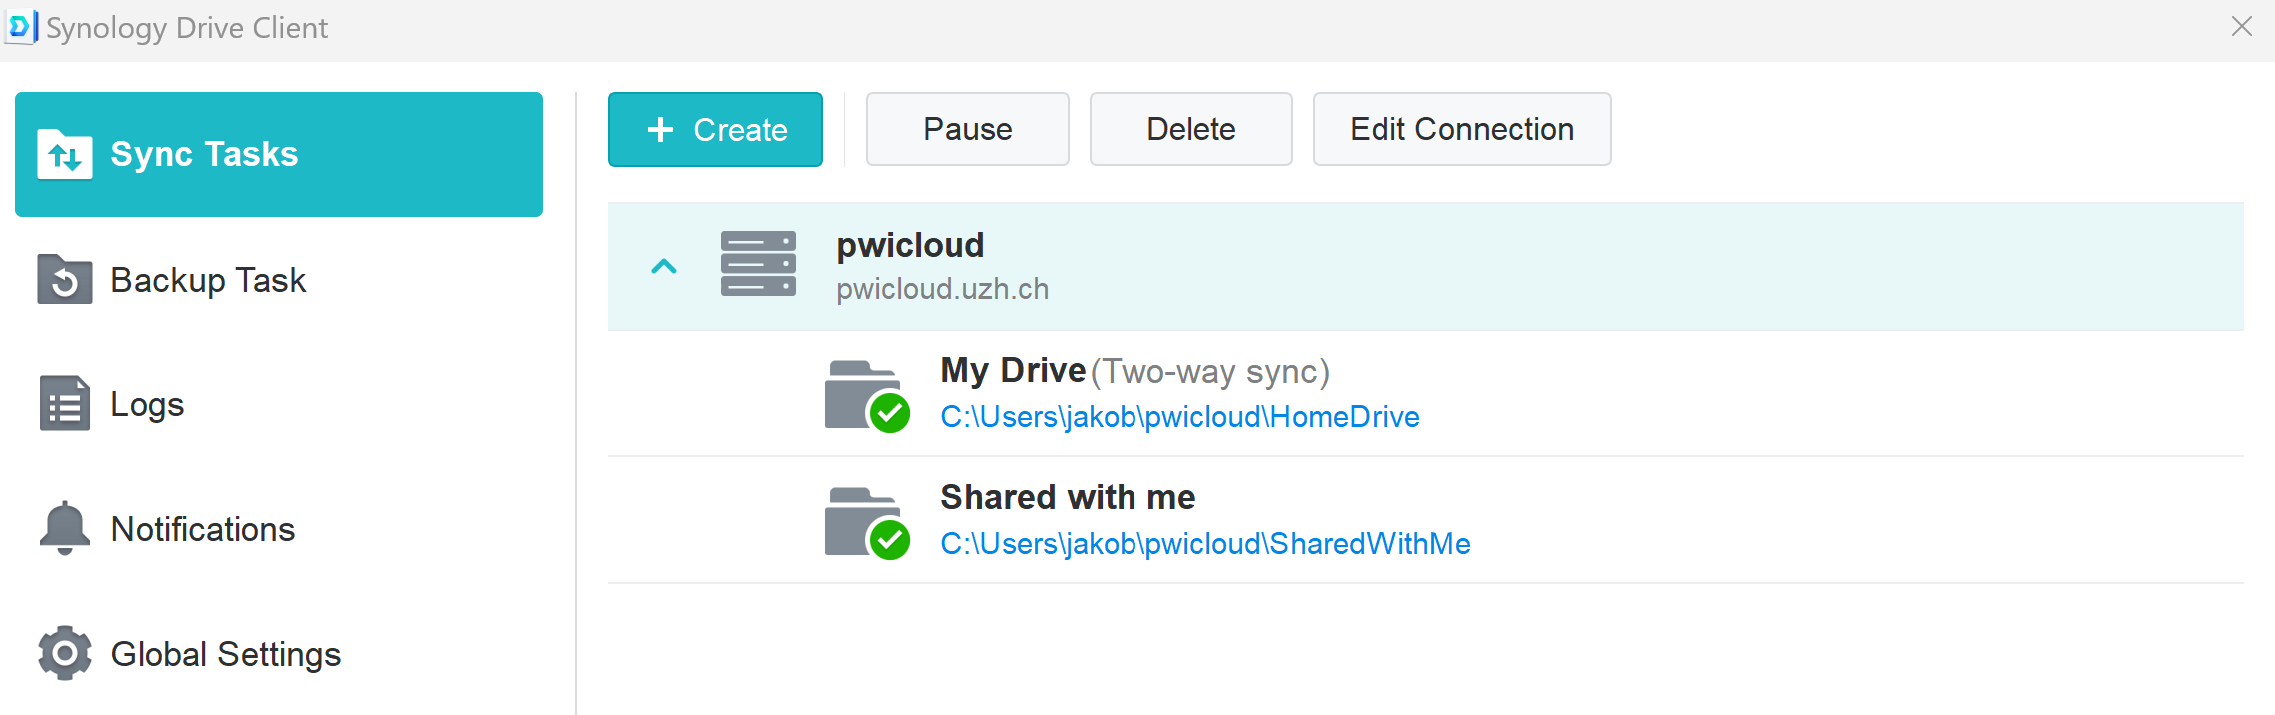
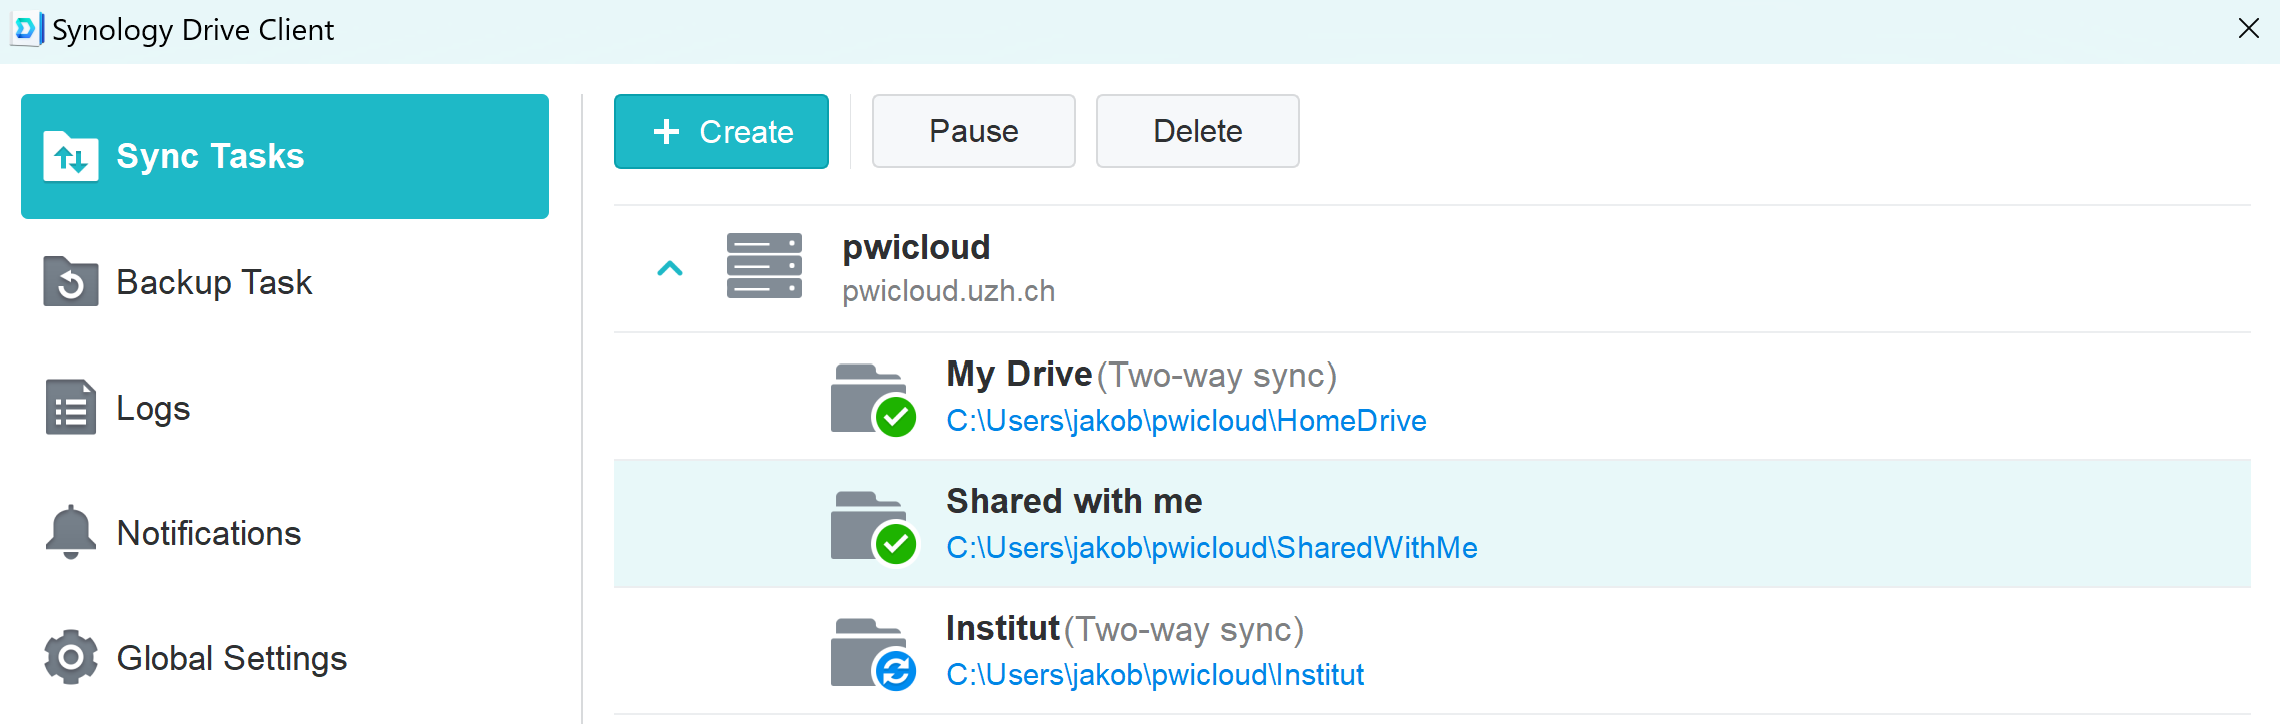
Connection overview
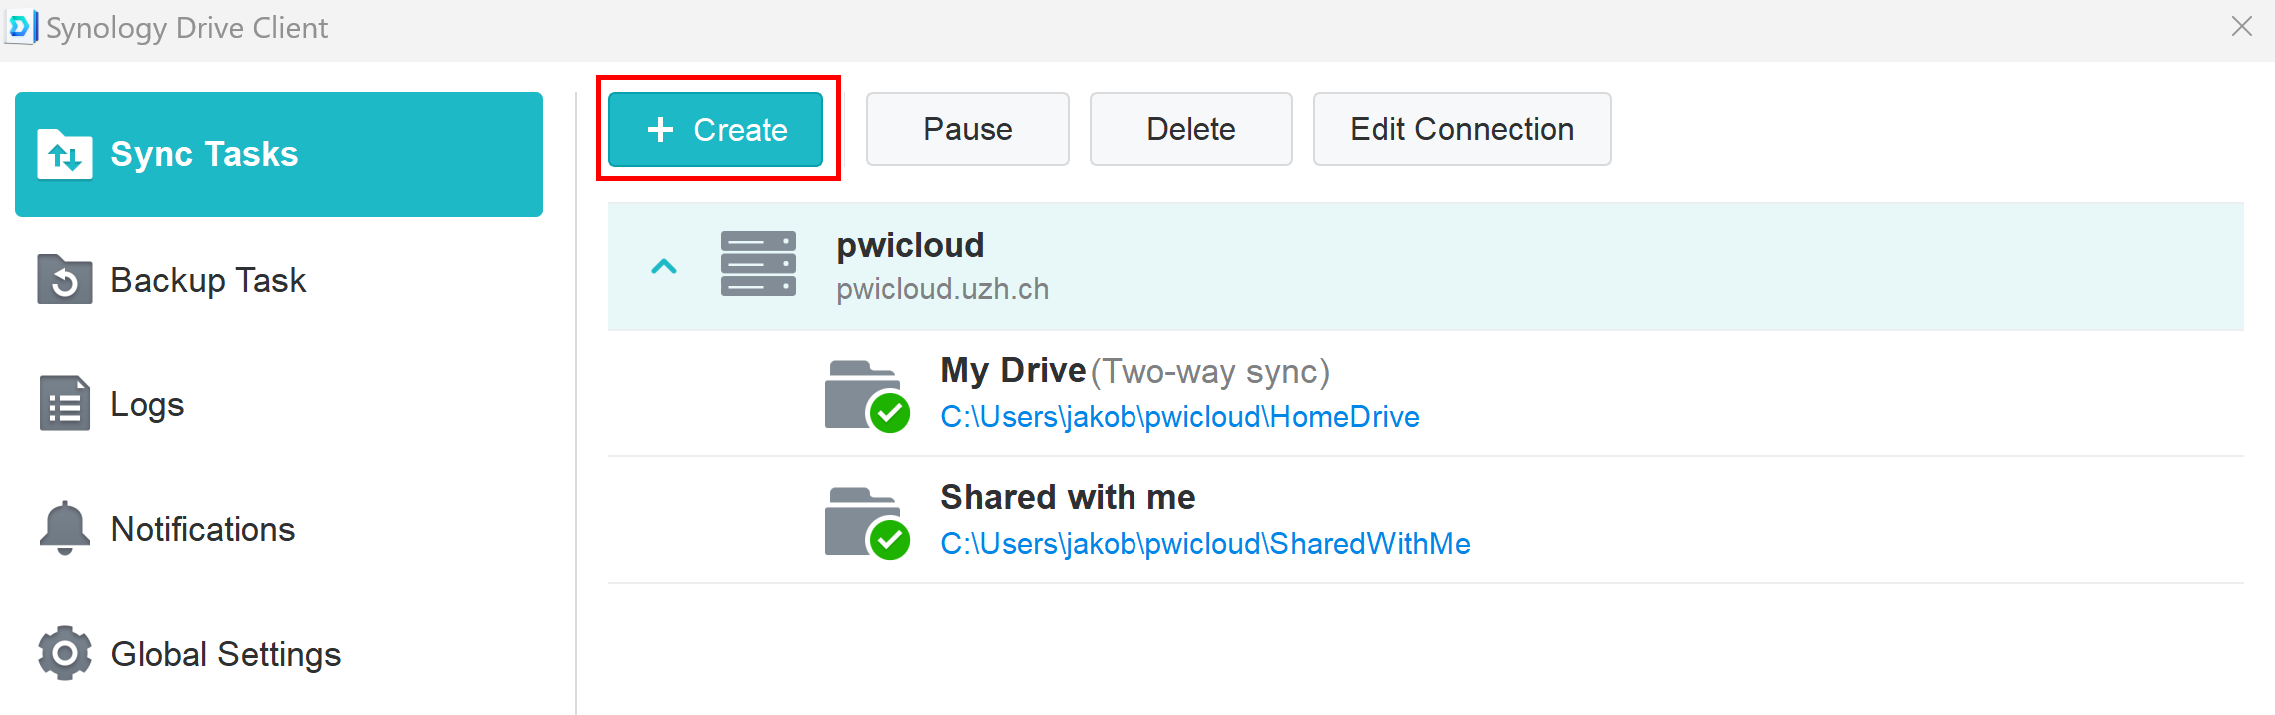
As a rule, this concerns chair holders
Click on "+ Create"
Click on "Next"
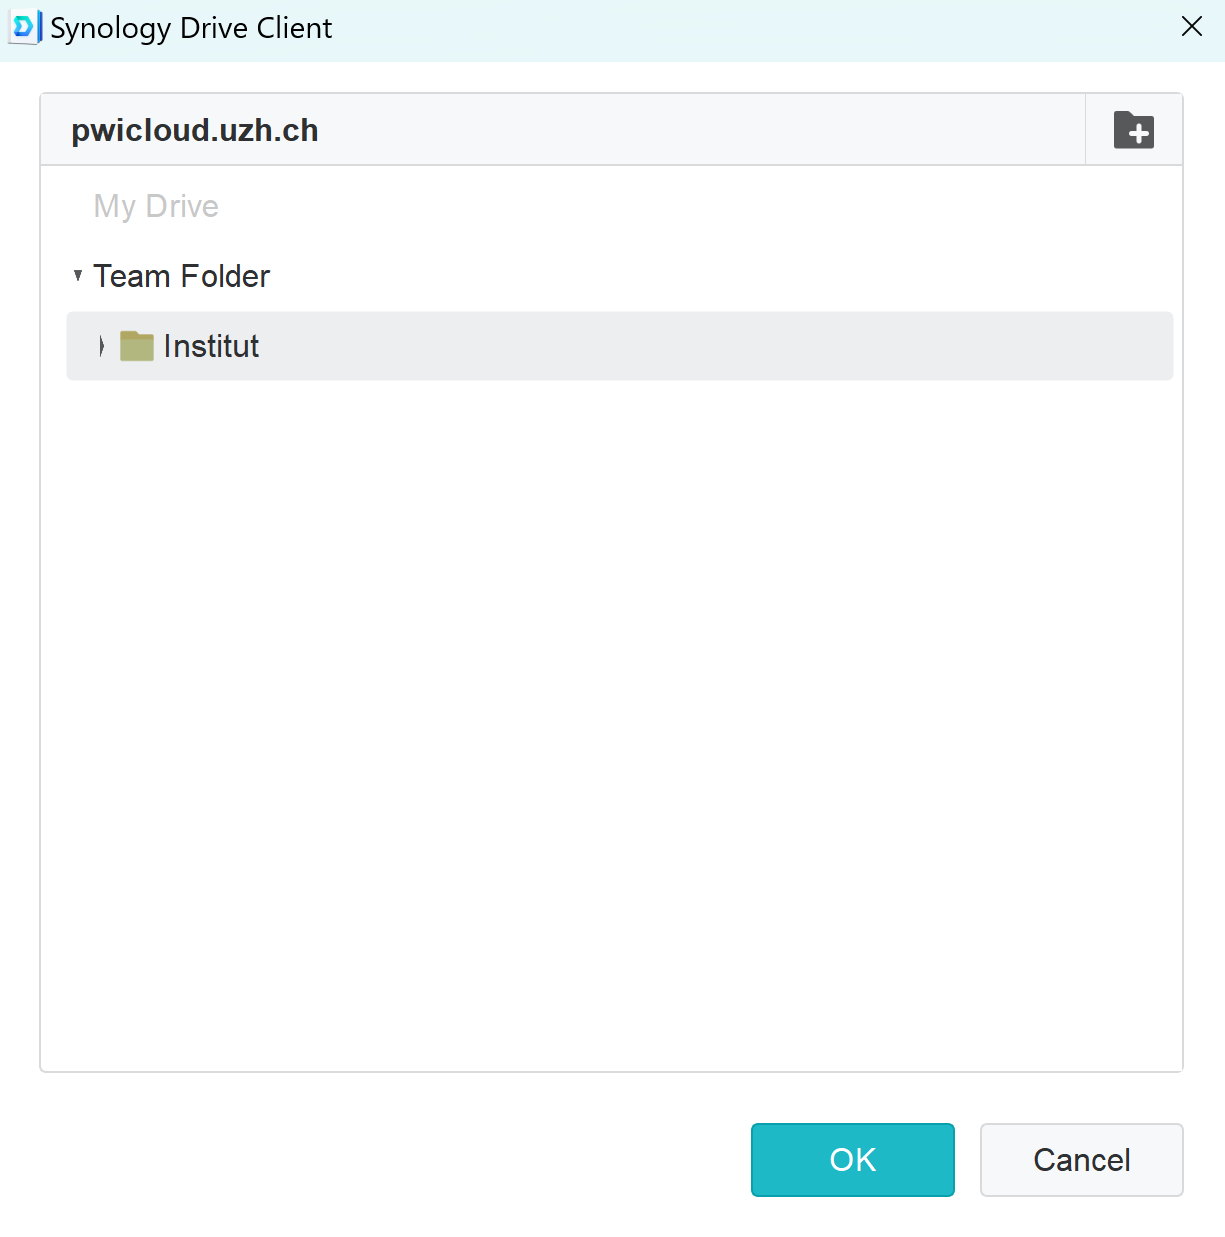
Click on "Change"
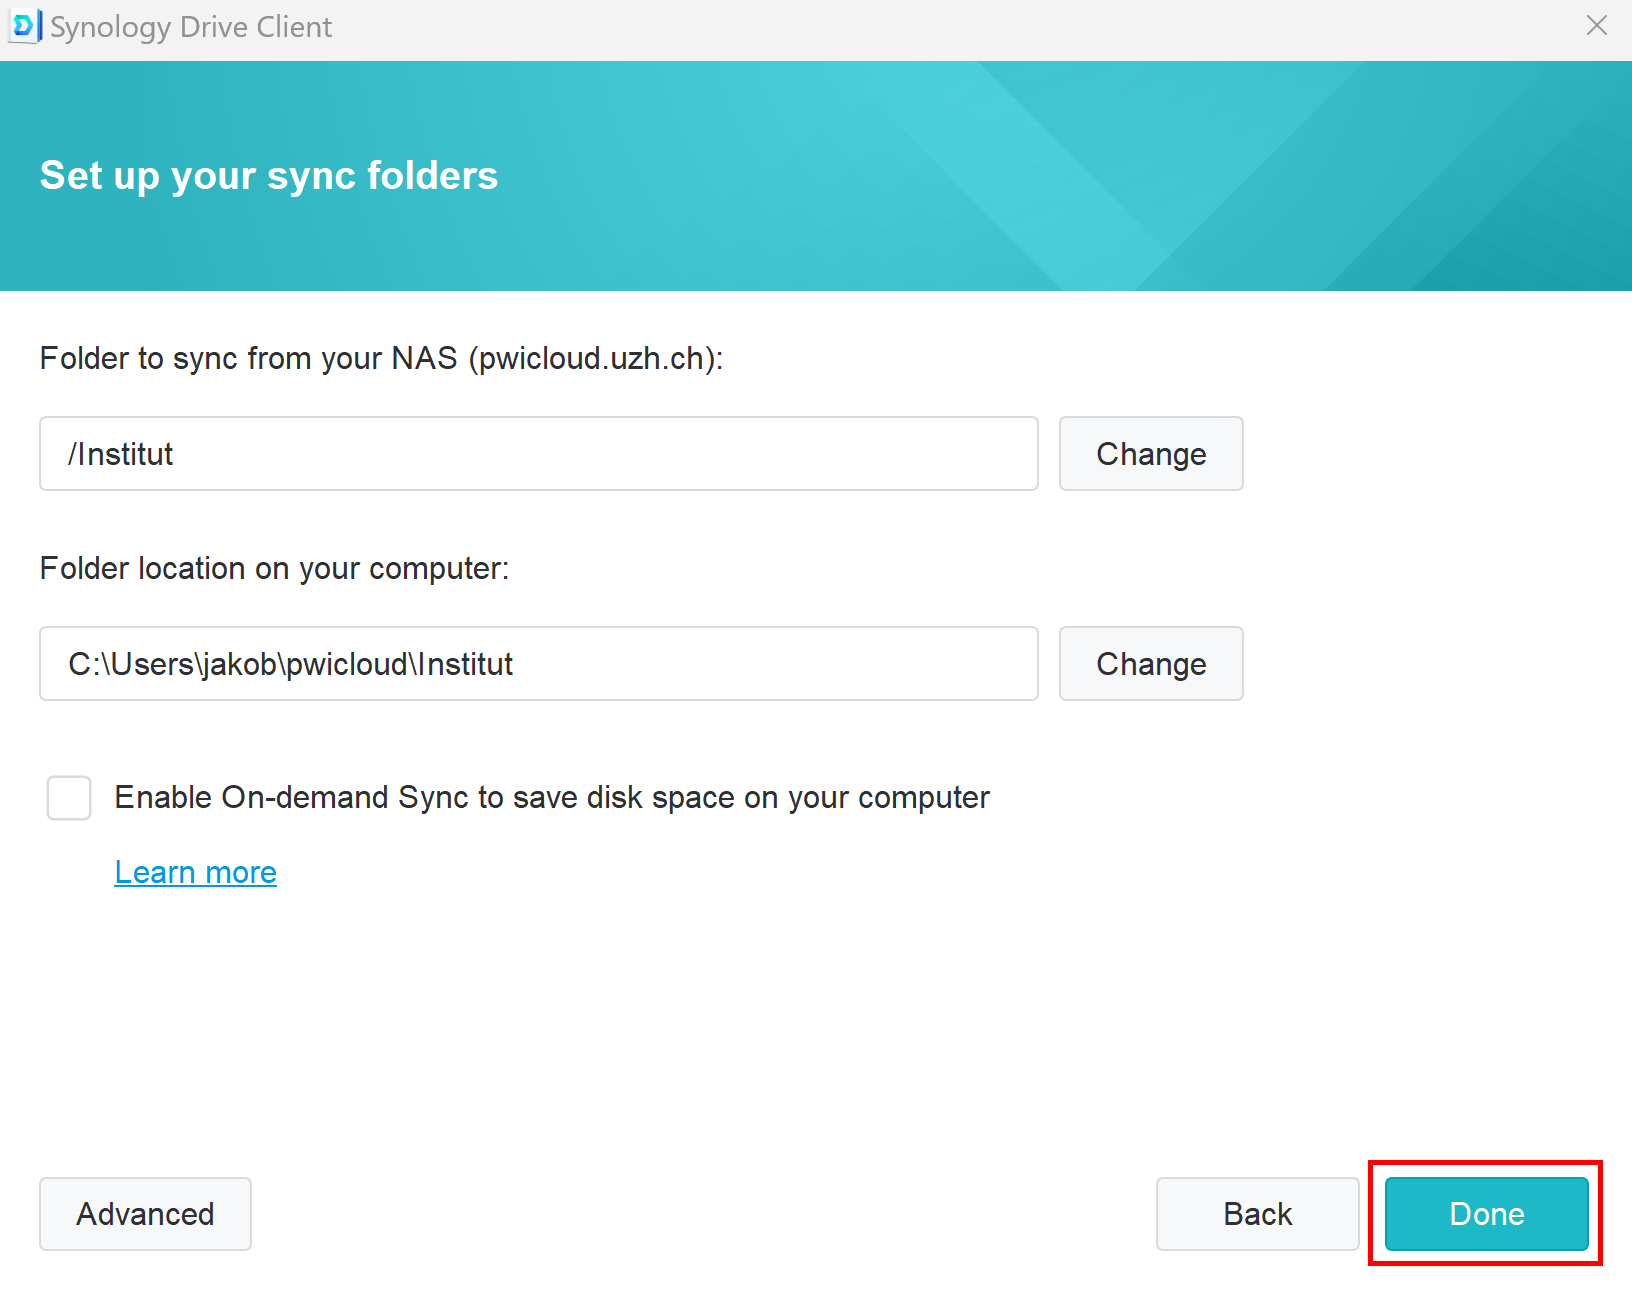
- Select the team folder you want to synchronise. Here, as an example, the folder "Institut"
- Click on "OK"
Click on "Change"
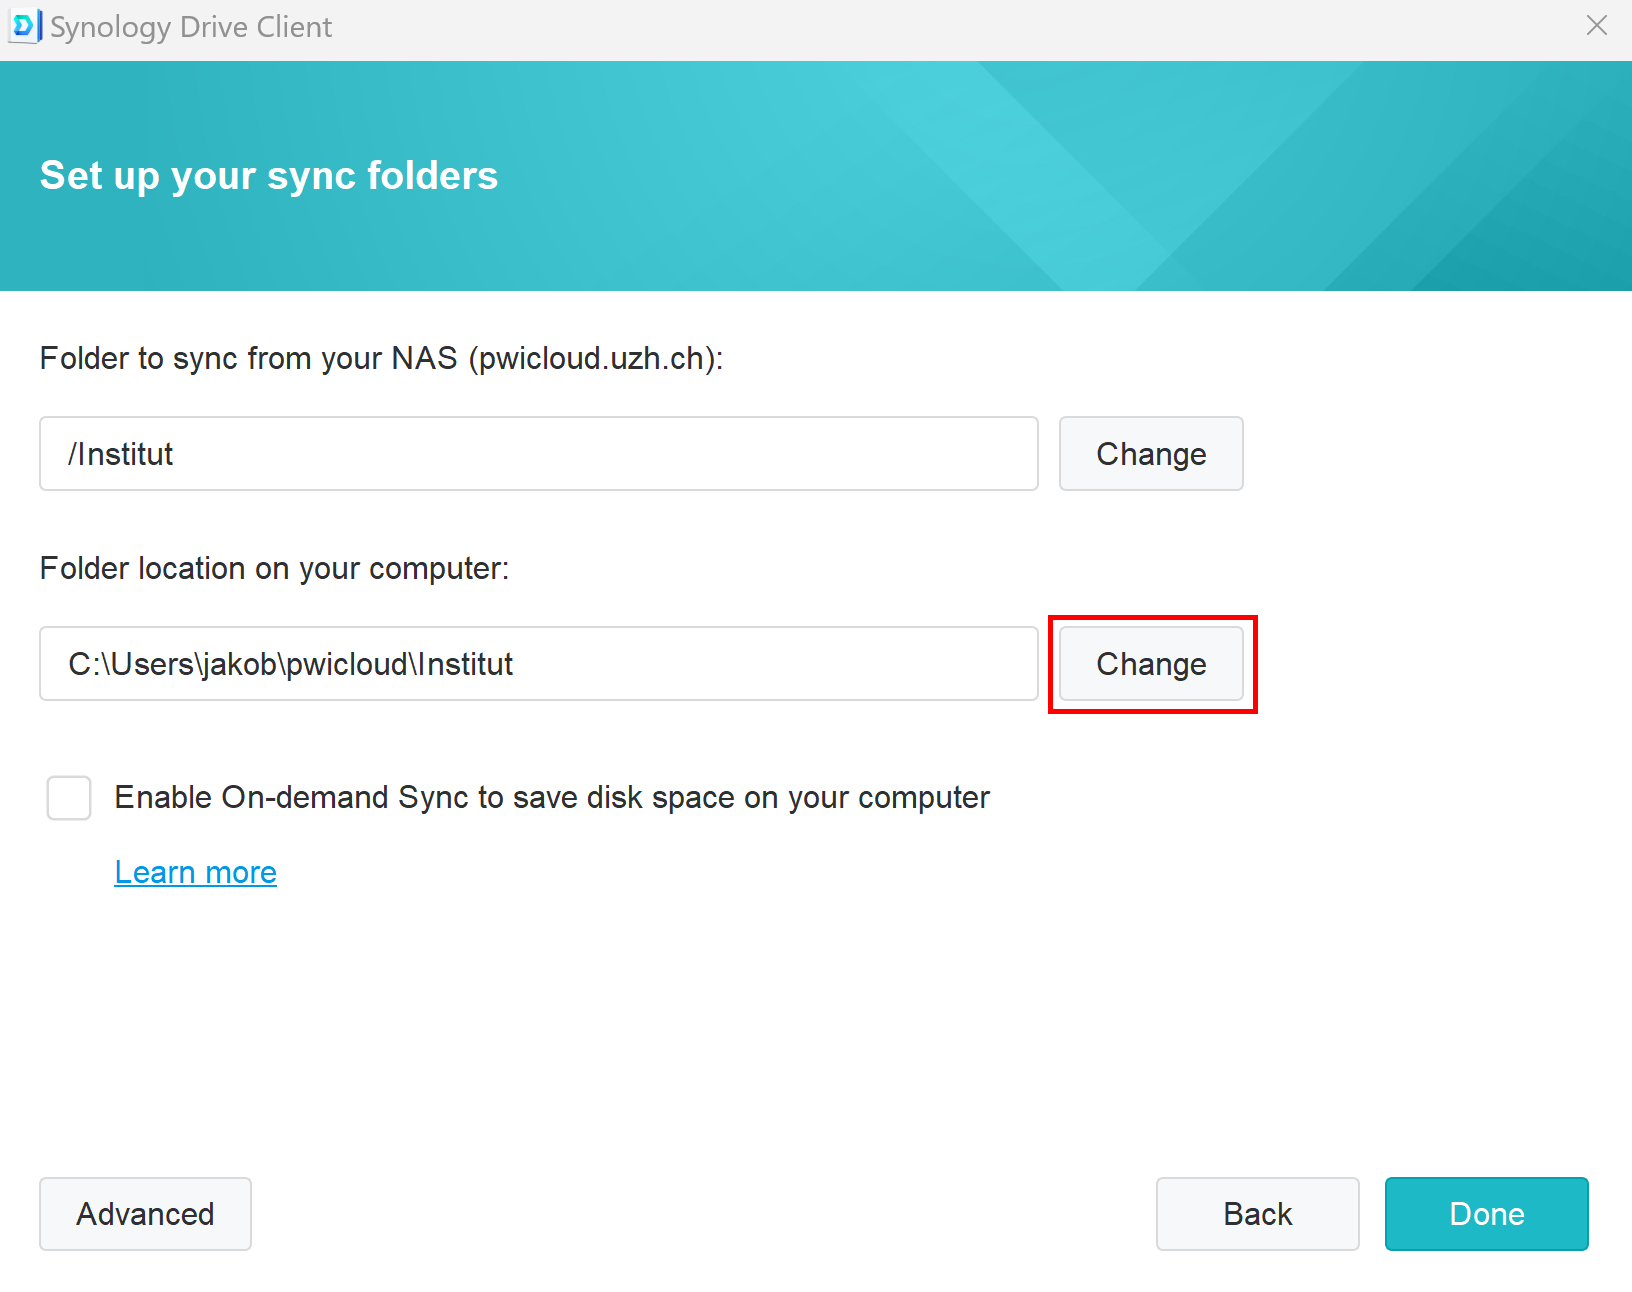
1. Highlight the folder where you have already created the other folders.
2. Create a folder with the same name as the team folder. Mark the folder.
* Deactivate!
Continue with "OK"
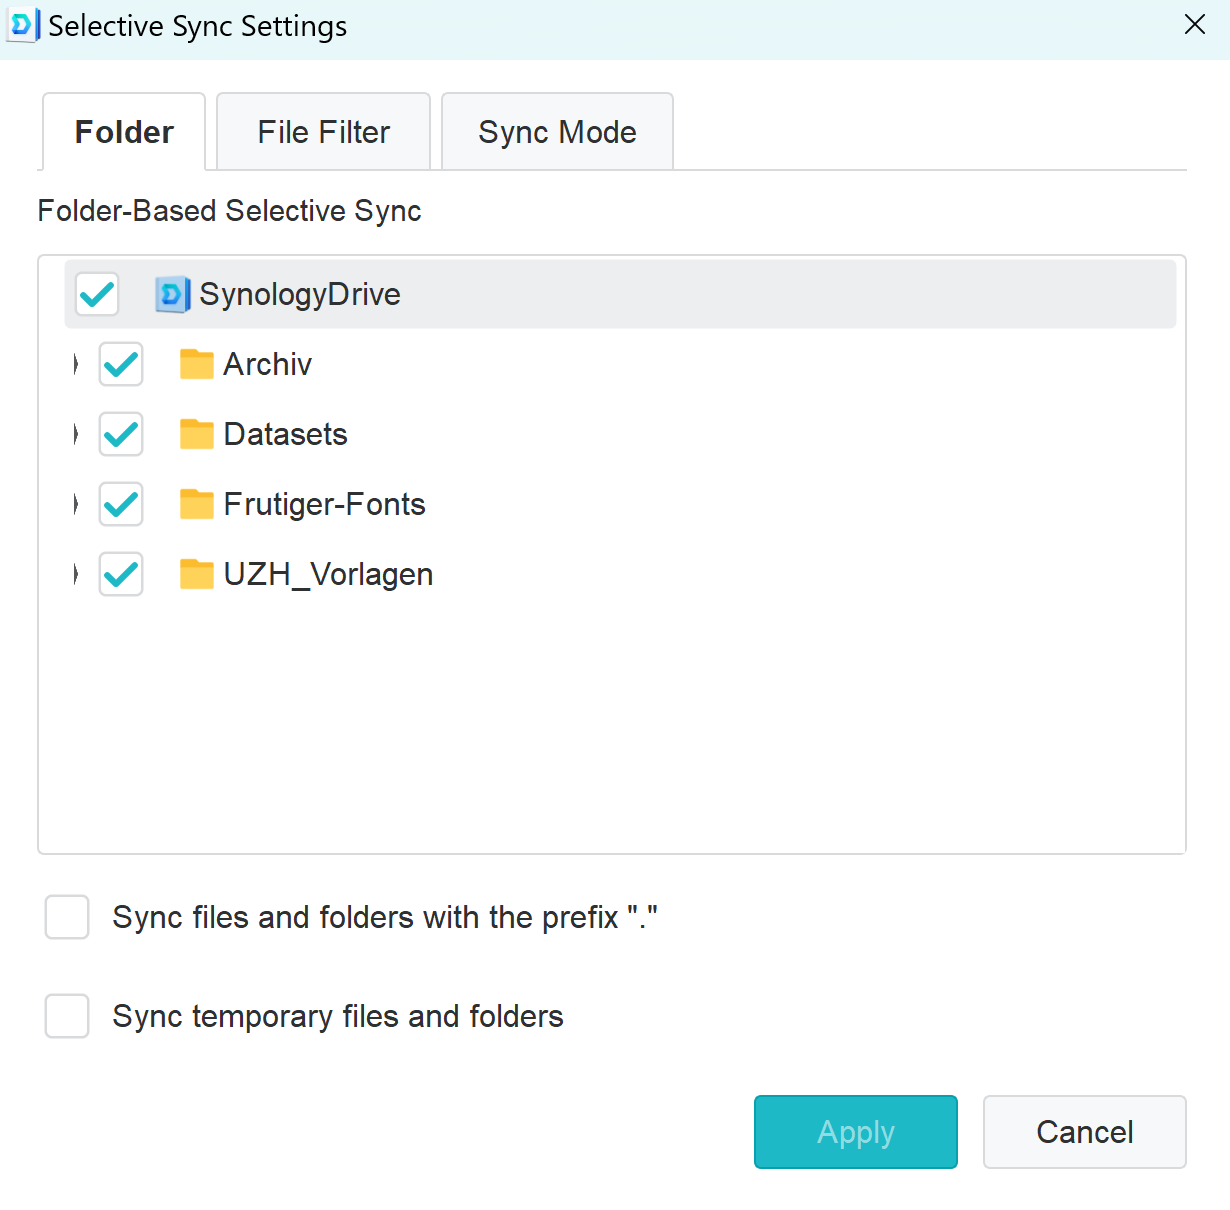
If you do not want to have all subfolders synchronised, go to "Advanced".
Here you can define which folders are to be synchronised.
Click on "Done"
The connection is established and the data is synchronised.
The assignment of rights to folders and files is done online at https://pwicloud.uzh.ch/drive/.
Search for and mark the folder you want to share with others.
This can be folders in "My Drive" or "Team Folder".
Click on the following symbol

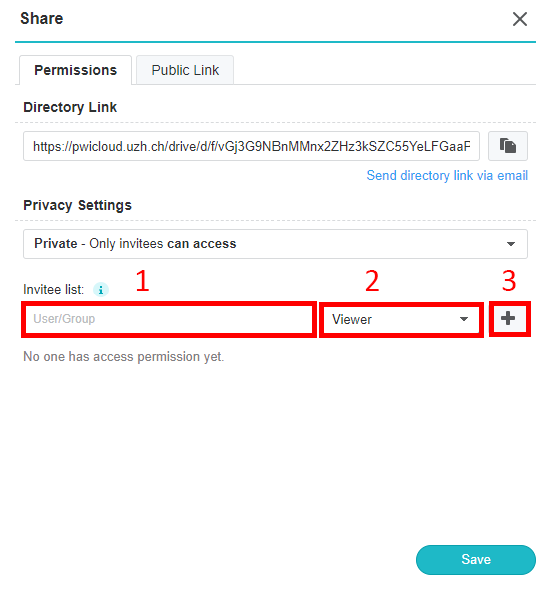
1. Find the user, by entering the first or last name, to whom you want to grant access to the folder. (If the user cannot be found, ask for his short name).
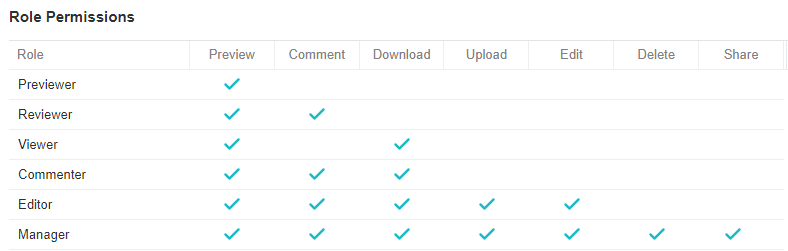
2. define his role (overview of the role's permissions, below)
3. add the user and press "Save".
Overview of the roles and their permissions
The user is automatically informed by e-mail that they have been shared with the folder.
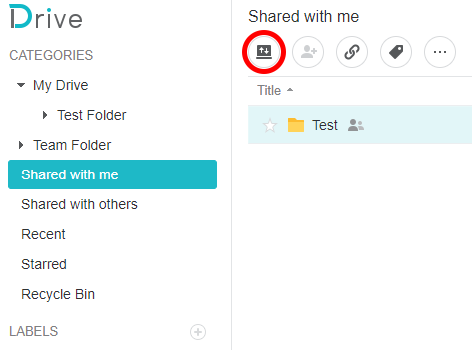
In order for the shared folder to be synchronised locally, it must be activated.
Go to "Shared with me", select the desired folder and click on the icon.